Share this post
AUTHOR:
Mastering Natural Light: Tips for Stunning Outdoor Photography
August 20, 2025
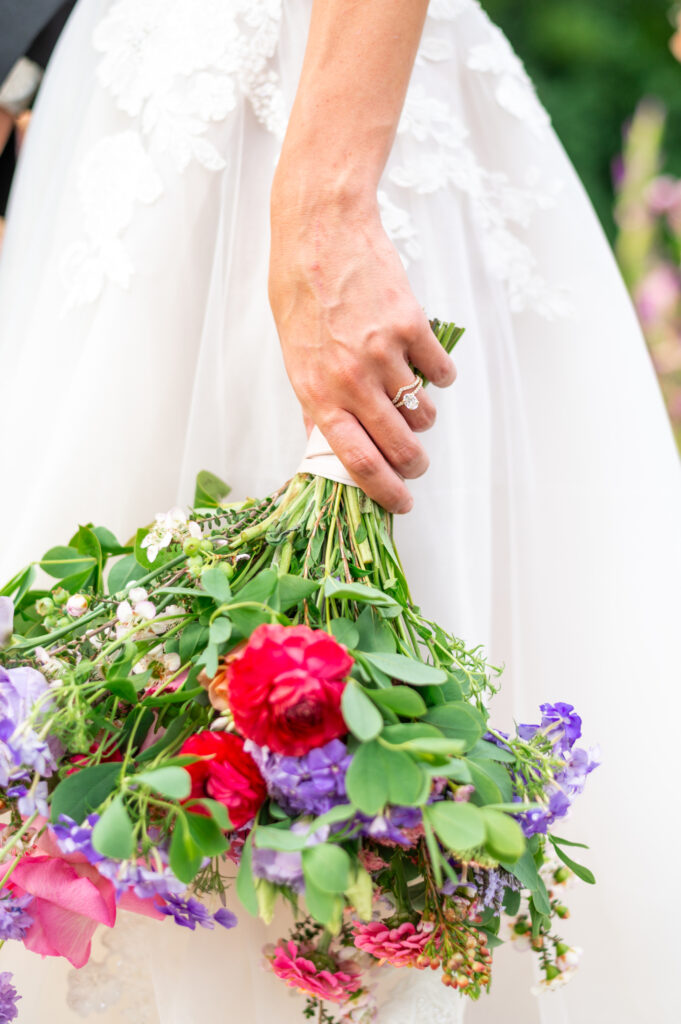
Natural light is a photographer’s most accessible and versatile tool, capable of transforming an ordinary scene into something truly spectacular. For outdoor photographers, learning how to master natural light is essential for creating stunning, impactful images. Whether you’re chasing dreamy golden hour portraits, striking landscapes at midday, or dramatic silhouettes at sunset, understanding and working with natural light unlocks your creative potential. In this guide, you’ll discover actionable advice to harness natural light at any time of day and elevate your photography.
What’s inside:
- Golden Hour Magic
- Direction of Natural Light
- Embracing Blue Hour
- Shooting in Open Shade
- Using Reflectors with Natural Light
- Backlighting for Portraits
- Harnessing Midday Sun
- Utilizing Cloudy Days
- Color Temperature and White Balance
- Essential Equipment for Outdoor Natural Light Photography

Golden Hour Magic
Golden hour is beloved by photographers for a reason, it’s when nature does the heavy lifting for you. The light is soft, directional, and saturated with warmth, creating an inviting glow that’s hard to replicate artificially. During these fleeting windows of time, shadows are gentle, highlights are golden, and subjects tend to look their best. Planning your shoot around golden hour can elevate even the simplest scene. Whether you’re photographing people, nature, or architecture, the magic of golden hour can instantly add depth and emotion to your images.
Golden Hour for Flattering Natural Light
Golden hour, the hour after sunrise or before sunset, delivers beautifully warm, soft, and diffused natural light. This coveted lighting condition flatters subjects, reduces harsh shadows, and brings out rich colors. It’s especially ideal for portraiture, as it naturally smooths skin tones and minimizes blemishes. The low angle of the sun also creates a gentle directionality that adds a three-dimensional quality to your photos. Use this time strategically for the most photogenic, Instagram-worthy light of the day.
Creating Dreamy Natural Light Portraits
Photographers rely on golden hour’s glow to capture natural light portraits that radiate warmth. Position your subject with the sun behind or to the side for luminous hair highlights and glowing skin tones. Experiment with angles to take full advantage of golden hour’s magical effect. Try using a shallow depth of field to blur the background and create a soft, dreamy look. Don’t forget to meter for your subject’s face to avoid underexposure when shooting backlit scenes.
Direction of Natural Light
Understanding the direction of light is one of the fastest ways to improve your outdoor photography. Natural light can fall on your subject from the front, side, or back, each producing dramatically different results. Choosing the right direction depends on your story, your subject, and the feeling you want to convey. With practice, you’ll begin to notice how shifting your subject or your camera by just a few degrees can transform a shot. Mastering this concept empowers you to use available light more creatively and effectively. This informational video does a great job of explaining how to use the light that is given to you for the best outcome, give it a watch; Mastering Light for Better Photos.
Side Lighting for Depth with Natural Light
Side lighting, placing your subject so that natural light hits them from one side, creates depth and dimensionality. This technique emphasizes textures and shapes, allowing natural light to sculpt facial features and enhance the storytelling of your image. It’s particularly useful in environmental portraits and fine art photography, where you want visual interest and mood. Look for opportunities where shadows fall softly across the face or background. Side light can add a painterly quality when used intentionally.
Front Lighting for Clarity in Natural Light
Shooting with natural light coming from behind the photographer (front lighting) produces evenly lit, clear images. Use this setup to minimize distractions and shadows, focusing on your subject’s features. Front lighting is ideal for bright, cheerful imagery where clarity is key. While it can appear flat if overused, adjusting your angles slightly can still give your image dimension. It’s a dependable choice when you want every detail to be crisp and visible.
Embracing Blue Hour
Blue hour has a quiet magic all its own. This time, just before sunrise or after sunset, offers soft, moody light with deep blue tones and subtle gradients. The cooler color palette and gentle light create a sense of calm and introspection, perfect for artistic or emotive photos. Street lights and skylines also begin to glow during blue hour, blending natural and artificial light in stunning ways. This short window can transform ordinary scenes into cinematic moments, if you’re ready with your camera.
Blue Hour’s Mood in Natural Light Photography
Blue hour occurs just before sunrise or after sunset, bathing scenes in cool, tranquil tones. Its unique natural light creates dramatic cityscapes, serene landscapes, and artistic portraits with an ethereal quality. This is a great time for slower shutter speeds, capturing ambient light in more painterly ways. Use a tripod to stabilize your shots and experiment with reflections and motion. Blue hour encourages storytelling with light and shadow, rather than brightness.
Silhouettes with Blue Hour Natural Light
Backlighting during blue hour is perfect for creating striking silhouettes. Position your subject against the glowing sky and use manual exposure to highlight their shape against the deep blue backdrop. This technique works well with strong outlines like trees, people, or architecture. Silhouettes during blue hour add a sense of mystery or drama, and they’re an easy way to tell a story without revealing too much. Just remember to keep the background clean and free of distractions.
Shooting in Open Shade
Open shade provides an ideal solution when sunlight is too harsh. Instead of working under direct sun, open shade, like the side of a building, under a tree, or beneath an awning, offers soft, diffused light that wraps gently around your subject. It’s especially helpful in portrait photography, reducing the risk of squinting eyes or blown-out highlights. Mastering open shade lets you shoot during less-than-ideal times of day without sacrificing quality.
Flattering Skin Tones Using Natural Light in Shade
Open shade, from buildings, trees, or awnings, produces soft, even lighting with minimal shadows. Natural light filtered through shade is exceptionally flattering for portraits, highlighting skin tones naturally. You’ll avoid unflattering hot spots or contrasty light across the face. Position your subject so that light still hits them from the front or side, and avoid overly dark backgrounds. This technique gives you more control in challenging midday sun.
Edge of Shade for Beautiful Catchlights
Placing your subject at the edge of open shade, just before the light transitions into sun, generates beautiful catchlights in the eyes and gives depth to facial features. This balances the softness of natural light with gentle highlights. Watch how the light shapes the face and adjust your angle to control the glow. It’s a subtle yet powerful trick that brings portraits to life.
Using Reflectors with Natural Light
Reflectors are one of the most effective tools for shaping and enhancing natural light. By bouncing light back onto your subject, reflectors help you manage shadows, fill in dark areas, and create more flattering images, all without artificial lighting. They’re affordable, lightweight, and easy to use, making them a must-have for any outdoor shoot. With the right positioning, a simple reflector can mimic the effect of a second light source. Sign up for our Learning the Basics Course for more information on how to use equipment properly.
Bouncing Natural Light for Even Exposure
A reflector helps control natural light outdoors by bouncing illumination back onto your subject, filling in shadows and creating balanced exposure. Reflectors are indispensable for outdoor photography, especially on bright days. You can use them to lighten shadows under the eyes, balance uneven light, or add subtle catchlights. Try placing your reflector opposite the light source for the best results. Even slight shifts in angle can dramatically change your image.
Choosing the Right Reflector in Natural Light
Silver reflectors intensify natural light and add cool tones, while white reflectors provide softer, more diffused illumination. Experiment with both to match the desired mood and subject in your natural light photography. Gold reflectors add warmth and are great during golden hour, while translucent reflectors can double as diffusers. Choose your reflector based on the look you’re going for, each has a different feel.
Backlighting for Portraits
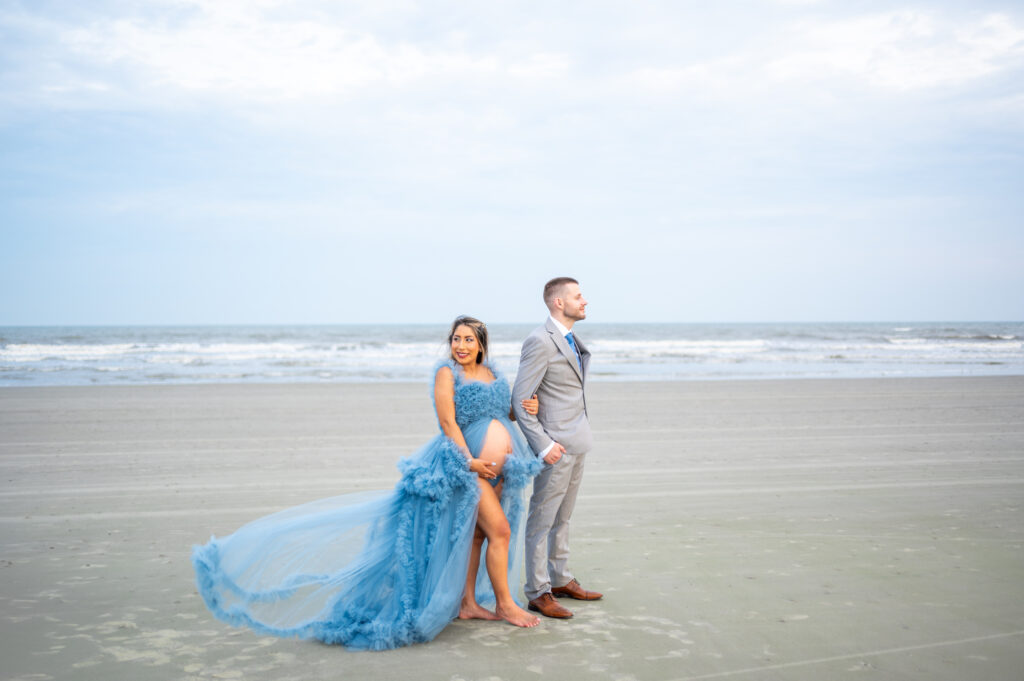
Backlighting, when used intentionally, creates images filled with light, emotion, and softness. Placing the sun behind your subject adds separation from the background and results in glowing outlines, often referred to as rim light. This technique is perfect for outdoor portraits that feel whimsical or ethereal. It does require careful exposure management but the payoff is worth it.
Achieving a Soft Natural Light Glow
Place the sun behind your subject to create a halo effect, adding warmth and depth. Backlighting in natural light gives photographs a dreamy, ethereal quality and softens facial features—a favorite trick for outdoor portrait photographers. Shoot wide open for that soft blur and glow. Backlight also adds richness to hair, especially when golden hour light is involved.
Preventing Overexposure in Natural Light Backlighting
Slightly angle your subject to avoid direct sunlight in the lens. Use reflectors or fill flash, if needed, and adjust exposure settings to keep your natural light images from becoming silhouettes or washed out. Spot metering on the subject’s face helps retain detail. Don’t forget to check your histogram, highlight clipping is easy with strong backlight.
Harnessing Midday Sun
While many photographers avoid midday shooting, you don’t have to. With the right techniques, even harsh overhead sun can yield dynamic and compelling images. Midday light creates crisp contrast and saturated colors, making it ideal for editorial, landscape, or architectural photography. The trick lies in knowing how to either embrace or diffuse its intensity.
Using Natural Light at Noon
Midday sun creates strong, direct light and deep shadows, which can be unforgiving for portraits but ideal for bold contrasts and vibrant landscapes. Understanding how to use and control harsh natural light is key for dynamic images, even at noon. You can use shadows creatively, shoot in black and white, or adjust your angles to get the best out of this challenging light. Don’t fight it, learn to work with it.
Finding or Creating Diffused Natural Light Midday
Seek shade or use a diffuser to soften midday rays. Overhangs, umbrellas, or translucent fabric filter natural light, reducing harshness and keeping colors true to life. You can also position your subject near reflective surfaces to even out exposure. The goal is to avoid direct overhead light while still making use of the brightness.
Utilizing Cloudy Days
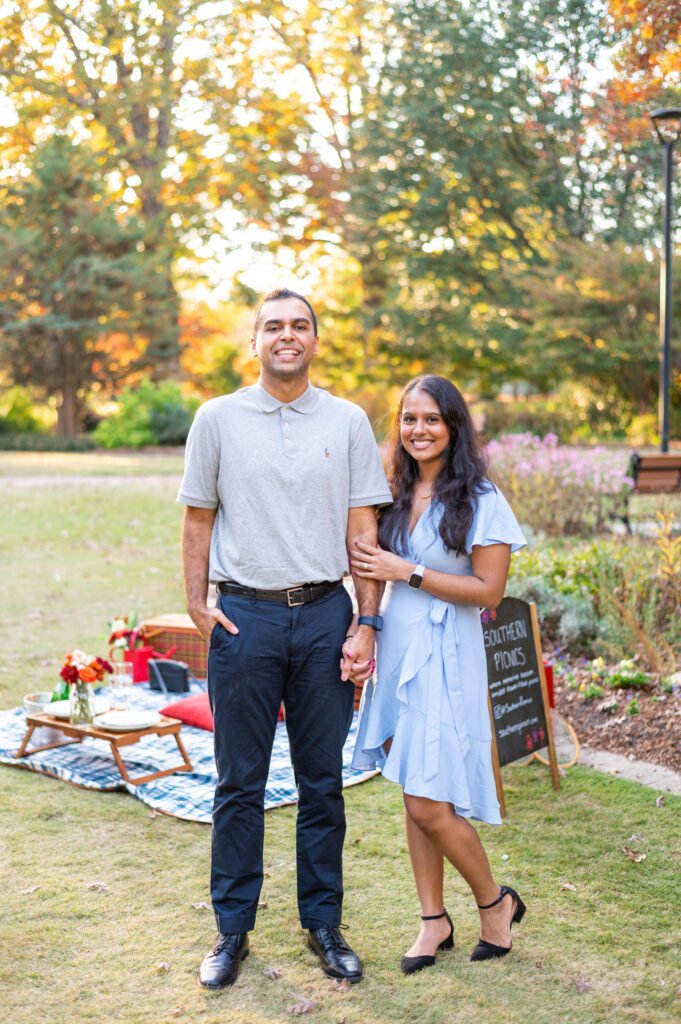
Cloudy days are a gift to outdoor photographers. The sky acts as a giant softbox, producing even, shadow-free light that flatters skin and enhances details. It’s perfect for moody portraits, flat lays, or capturing texture-rich environments. The consistency of light also allows you to shoot longer without chasing sun angles.
Soft Natural Light on Overcast Days
Cloudy days transform sunlight into soft, even natural light that’s perfect for portraits, macro, and product photography. Diffused natural light eliminates harsh shadows and helps capture subtle details and colors. It’s a great time to shoot earthy or introspective content. Cloudy light is also forgiving on complexions and clothing textures.
Adjusting Exposure for Cloudy Natural Light
Boost exposure slightly on overcast days to maintain brightness. Lower your aperture and increase ISO as needed to let more natural light in, ensuring clear and vibrant photos no matter the weather. Keep an eye on your histogram and white balance, it’s easy to underexpose and end up with dull tones. Manual shooting gives you full control.
Color Temperature and White Balance
Light isn’t just bright or dim, it has color. Understanding color temperature is crucial for capturing images that reflect the feeling of the scene. Morning and evening light tends to be warmer, while midday and shade are cooler. Knowing how to read and adjust for these shifts allows for more accurate, visually consistent photography.
Warm vs. Cool Natural Light
Understanding the color temperature of natural light throughout the day helps you create the desired atmosphere. Golden hour delivers warm, inviting hues while midday or cloudy light is cooler and more neutral. Adjust your white balance settings to retain authentic colors in your photos. Auto mode can struggle in mixed lighting, consider switching to Kelvin or presets for better accuracy.
Manual White Balance in Outdoor Natural Light
Switching to manual white balance enables you to fine-tune how your camera interprets natural light, preserving the mood and accuracy of your scene. This is especially important when shooting in RAW, where slight tweaks can dramatically improve results. Experiment with cloudy or daylight presets for different effects. Custom white balance can be your secret weapon.
Essential Equipment for Outdoor Natural Light Photography
While natural light is free, the right tools help you make the most of it. A few essential items can dramatically expand your shooting opportunities, especially in changing conditions. Think of equipment as a support system, not a crutch. When you combine gear knowledge with light awareness, your images become more versatile and professional.
Neutral Density Filters for Bright Natural Light
ND filters reduce the intensity of natural light without altering color. These are invaluable for shooting wide apertures on bright days or achieving motion blur effects in waterfalls and waves. They let you control exposure even in extreme brightness. ND filters are essential for video work as well. Keep a variety of strengths in your kit.
Tripods and Natural Light Stability
A sturdy tripod ensures stability during golden or blue hour when shutter speeds are slower and natural light is limited. It helps prevent blur, especially in low-light or long-exposure situations. A tripod also allows for more thoughtful composition and frame alignment. Don’t underestimate the creative freedom that stability provides.
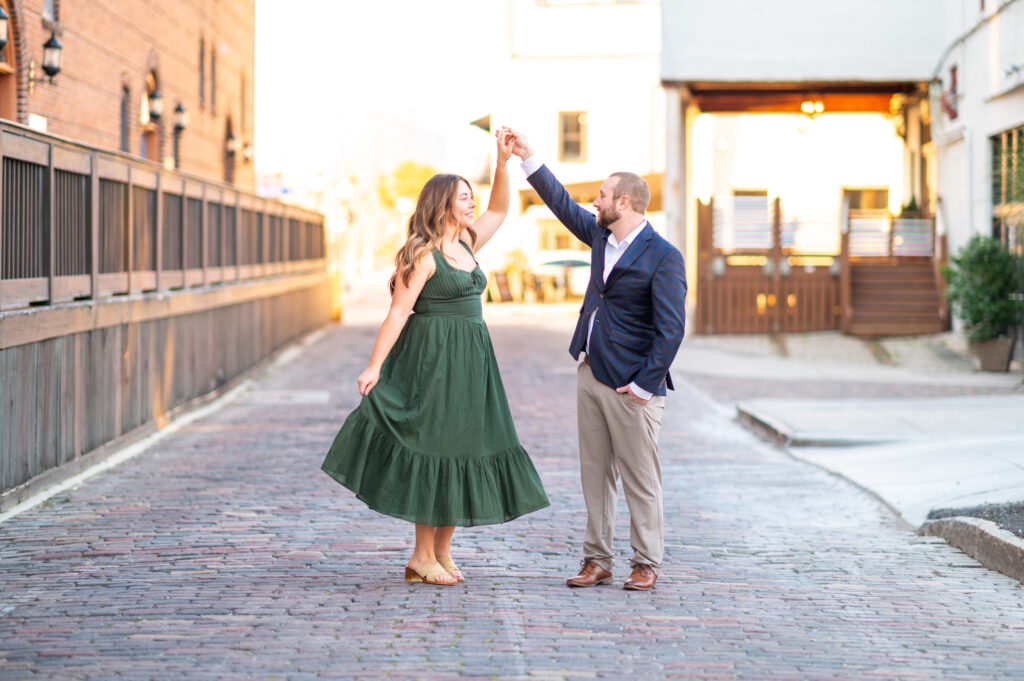
Mastering natural light is less about controlling it and more about learning to see it. Once you understand how light behaves at different times of day and under different weather conditions, you’ll start anticipating rather than reacting. Whether you’re capturing sweeping landscapes or intimate portraits, your relationship with natural light will define your style and elevate your work. Remember, great photography doesn’t rely on perfect conditions, it relies on your ability to adapt, observe, and create intentionally. Keep practicing, keep experimenting, and most importantly, keep chasing the light.
Ready to master natural light and elevate your outdoor photography game? Try incorporating these techniques into your next shoot, experiment with different times of day. For more inspiration and practical guides, dive deeper into our blogs and join our Mastermind Program!
Comments