Share this post
AUTHOR:
A Beginner’s Guide to Editing in Lightroom
September 19, 2025
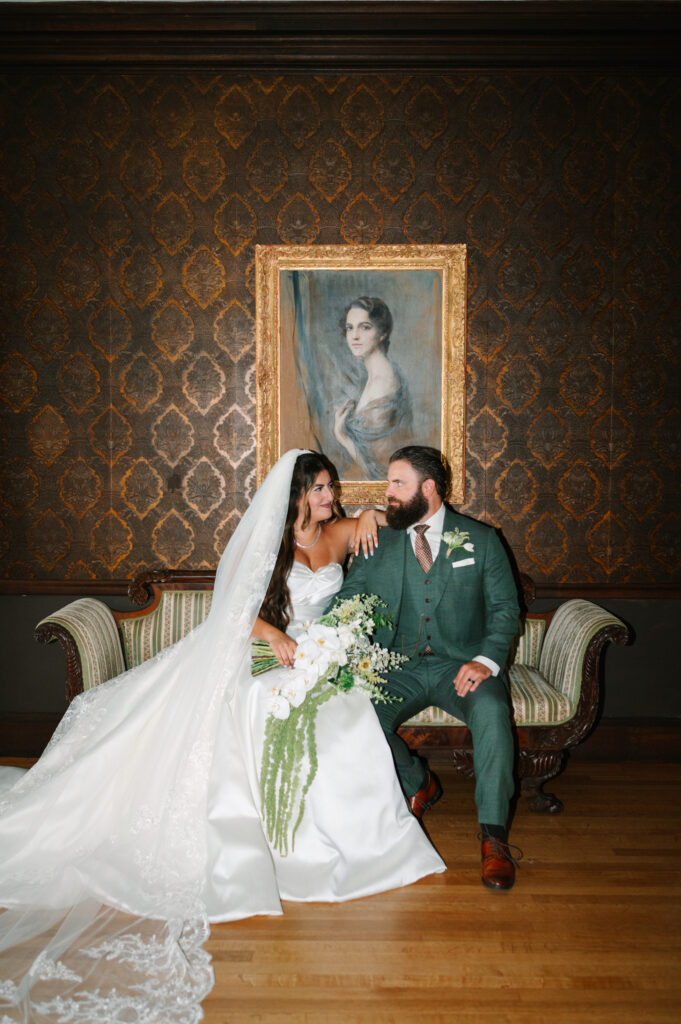
Editing photos can feel intimidating when you’re just getting started, but mastering Lightroom is one of the most rewarding skills you can develop as a beginner photographer. Adobe Lightroom is a powerful yet user-friendly tool that helps you transform raw photos into final images that reflect your creative vision. By learning the basics of Lightroom editing, beginners gain the freedom to enhance colors, adjust lighting, correct imperfections, and most importantly, develop a consistent editing style. In this guide, we’ll walk through essential Lightroom editing techniques every beginner should know. You’ll learn how to organize your photos, adjust exposure, use color effectively, and create professional edits without overwhelming yourself. Think of this as your roadmap for making Lightroom work for you.
Here’s an overview of what we’ll cover:
- Importing and organizing photos in Lightroom
- Understanding the Lightroom interface
- Mastering basic exposure adjustments
- Working with color tools
- Cropping and straightening your images
- Removing distractions with spot removal
- Using presets for faster edits
- Creating a consistent editing style
- Exporting and saving images correctly
- Developing your workflow as a beginner
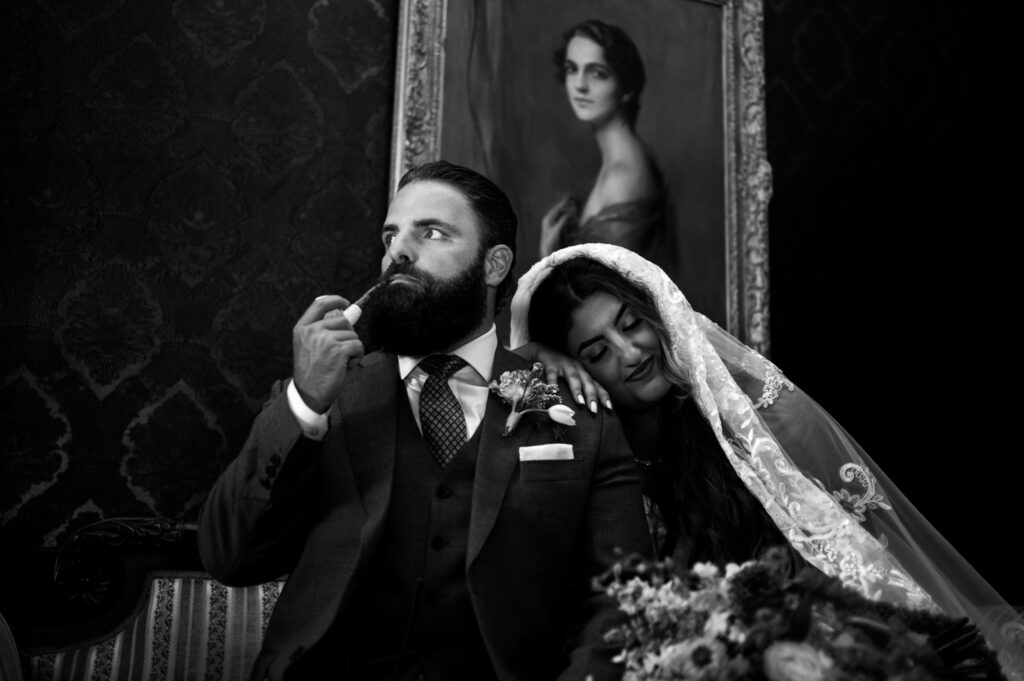
Importing and Organizing Photos in Lightroom
Organization is the first step to creating a smooth editing experience. Without a clear system, you’ll spend more time searching for images than actually working on them. Lightroom makes photo management simple with its import and folder structure tools. By mastering these early steps, beginners can create a strong foundation for every future edit.
Importing photos into Lightroom
The first task for any beginner in Lightroom is learning how to import your photos. Lightroom’s Library module makes bringing images into the software simple. As a beginner photographer, organizing your imports with folders and keywords helps you quickly locate specific shots later. Building good habits at this early stage saves a lot of editing frustration. You’ll thank yourself later when your growing portfolio remains easy to navigate.
Organizing your photo library
For beginners, photo management might seem less exciting than editing tools, but it’s crucial. Proper organization allows a beginner photographer to sort images by date, location, or project. Lightroom collections and tags make finding reference photos easy, so you can focus on creativity rather than digging through thousands of files. A clean library also helps you stay motivated, since you can see your progress and style evolve over time.
Understanding the Lightroom Interface
Lightroom is packed with tools, but you don’t need to learn everything at once. Focusing on the essentials makes the software far less intimidating. By starting with just the Library and Develop modules, beginners can get comfortable with the layout and gradually explore more advanced features later. Think of this as learning to drive a car, you don’t need to master every button on the dashboard to get moving. Take a look around Adobe Lightroom and get familiar with all it has to offer.
Getting to know the Library and Develop modules
A smooth Lightroom workflow begins with learning the interface. Beginners should focus mainly on the Library module for organizing and the Develop module for editing. By understanding these two core sections, a beginner photographer can move confidently through Lightroom without getting lost in unnecessary tools. Over time, you can explore extras like the Map or Book modules, but mastering the basics first sets you up for success.
Customizing your workspace
Every beginner has different editing preferences. Lightroom offers options to hide or expand different panels. By customizing the workspace, beginners can keep only the most essential tools visible, making the editing process less overwhelming and more enjoyable. A tidy workspace reduces distraction and helps you focus on the creative part of editing rather than scrolling endlessly through menus.
Mastering Basic Exposure Adjustments
Exposure is one of the building blocks of great photography, and Lightroom gives you precise control over it. Beginners often struggle with photos that look too dark or too washed out, but exposure sliders allow for easy fixes. With just a few small tweaks, you can completely transform the mood and clarity of an image. These adjustments are the backbone of a polished edit.
Adjusting exposure and contrast
For beginners, learning exposure adjustments is key to making photos come alive. Using the Exposure, Contrast, and Highlights sliders, even a beginner photographer can brighten an underexposed shot or add depth to a flat image. These basic tools form the foundation of almost every Lightroom edit. Once you get comfortable, you’ll notice how small adjustments can change the storytelling of your image.
Fine-tuning shadows and highlights
Another powerful adjustment beginners should master is balancing shadows and highlights. These sliders allow beginners to recover lost details in dark or blown-out areas. With just a little practice, even a beginner can dramatically improve image quality. Subtle refinements here often separate a beginner edit from a professional-looking photo.
Working with Color Tools
Color is one of the most exciting parts of photo editing because it directly affects emotion and mood. Lightroom offers powerful color correction tools that even beginners can pick up quickly. Learning to adjust white balance, vibrance, and saturation helps you avoid unnatural tints and create eye-catching images. Once you feel confident, you can start experimenting with creative color grading for a unique style.
Using White Balance effectively
One of the most noticeable beginner mistakes in editing is color imbalance. White Balance tools help beginners fix strange tints and make colors look natural. By adjusting temperature and tint, even a beginner photographer can correct lighting issues caused by indoor bulbs or outdoor shade. Practicing with White Balance gives you control over how warm or cool your photos feel, making your edits more intentional.
Enhancing vibrance and saturation
Color is one of the best areas for photographers to express creativity. Beginners can experiment with Vibrance and Saturation to enhance tones without going overboard. Vibrance is especially beginner-friendly because it increases muted colors selectively while protecting skin tones. This means your portraits can pop without looking overly artificial, a mistake many beginners fall into.

Cropping and Straightening Your Images
A well-captured shot can still benefit from thoughtful cropping and straightening. Lightroom makes it easy to refine composition and eliminate distracting elements that pull the viewer’s eye away from the subject. For beginners, these small corrections often create the biggest visual impact. Think of cropping and straightening as your chance to polish the story your image tells.
Cropping for better composition
Composition doesn’t end when you take the photo. Beginners can greatly improve their photos through cropping. Lightroom makes it easy for a beginner photographer to apply the rule of thirds, adjust framing, and eliminate distracting edges from an image. Over time, you’ll learn to visualize good composition while shooting, but cropping is your safety net in the beginning.
Straightening horizons and lines
A crooked horizon can distract from even the best capture. Beginners can use Lightroom’s straightening tool to align lines and fix tilted shots. For a beginner, correcting perspective helps photos look polished and intentional. This step may seem small, but it adds a sense of professionalism to every image.
Removing Distractions with Spot Removal
Even a beautiful photo can be ruined by an unwanted blemish, dust spot, or background detail. Lightroom’s Spot Removal tool helps you clean up these issues quickly without advanced editing skills. For beginners, this tool is a game-changer because it makes images look cleaner and more professional with very little effort.
Healing unwanted spots
Every beginner has dealt with dust spots or minor blemishes in photos. Lightroom’s Spot Removal tool helps beginners erase these distractions in just a few clicks. By using the Heal option, a beginner can replace imperfections with surrounding pixels seamlessly. This makes the final photo feel polished and distraction-free, which is especially helpful in portrait work.
Cloning for challenging areas
When a beginner faces tougher distractions, the Clone option offers more control. It allows a beginner photographer to copy one clean section of the photo onto the problematic area. This simple tool instantly makes photos look more professional. The key is practicing subtle adjustments so the edit blends naturally with the rest of the image.
Using Presets for Faster Edits
Presets are one of Lightroom’s most popular features, and they can save beginners a ton of time. They allow you to apply a professional editing style instantly while also teaching you which sliders affect which parts of the image. Beginners should see presets as both shortcuts and learning opportunities. Over time, they’ll help you define your personal editing aesthetic.
Applying Lightroom presets
Presets are a beginner’s best friend. These one-click adjustments apply a specific editing style to your photos instantly. For beginners, they serve as both a shortcut and a teaching tool: you can see exactly how adjustments are made by exploring the settings within a preset. Using presets also helps keep your photos consistent, which is valuable when building a portfolio or posting on social media.
Creating your own presets
Once beginners feel more comfortable editing, they can start saving custom presets. Creating presets helps a beginner photographer develop their editing signature and speeds up future edits. Over time, presets become a personal toolbox for consistent results. They’re also a confidence boost, you’ll know you’ve created a style worth repeating. Sign up for a Mastering Lightroom Session and you will get a custom preset just for your style.
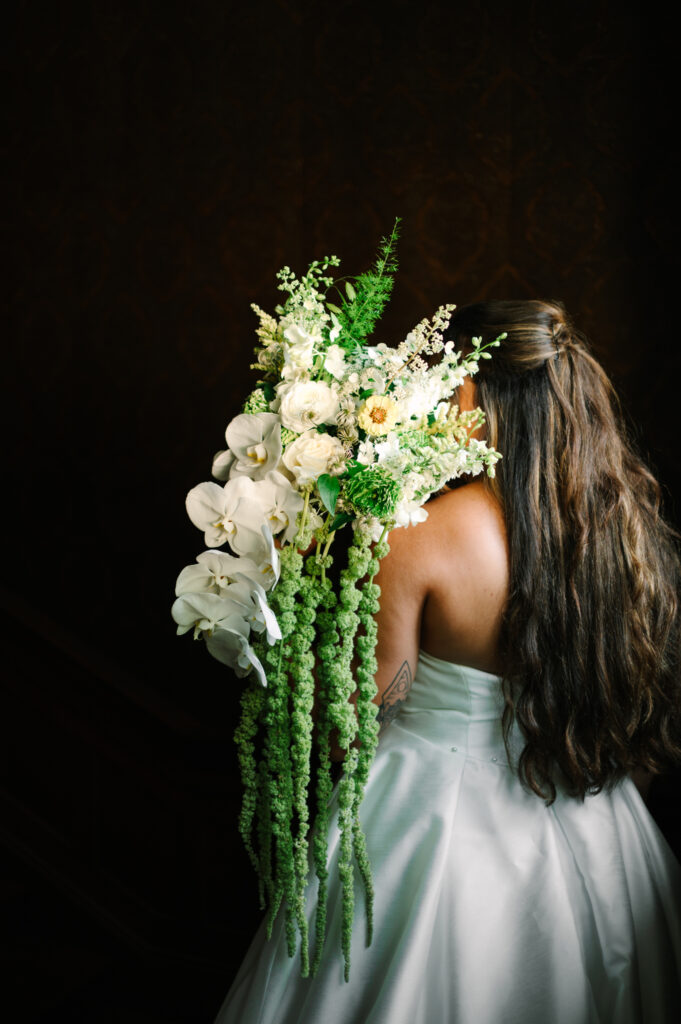
Creating a Consistent Editing Style
Consistency is what takes your edits from beginner-friendly to professional-looking. A recognizable style helps you stand out, especially if you plan to build a brand or attract clients. Lightroom makes it easier to develop this by encouraging uniformity across exposure, colors, and tones. Beginners should focus on refining one or two stylistic choices and applying them consistently.
Developing your photography brand
Every beginner dreams of having a recognizable style. Lightroom makes this achievable through consistent adjustments. By using similar tones, color palettes, and contrast across your images, a beginner can begin building a personal photography brand. Over time, your audience will start to associate certain looks with your work, which builds trust and recognition.
Analyzing before-and-after comparisons
Lightroom allows beginners to compare edits with the original photo using the before-and-after view. This feature helps a beginner reflect on whether edits carry a cohesive style that fits their vision or whether adjustments need fine-tuning. It’s also a great way to measure progress over time, you’ll be able to see just how far your editing skills have come.
Exporting and Saving Images Correctly
Finishing an edit isn’t the last step, exporting your images properly is just as important. Beginners often overlook this stage, but correct export settings ensure your photos look their best whether online or in print. Learning to manage file size, resolution, and formats early on saves frustration later. Think of exporting as the final polish before sharing your work with the world.
Choosing export settings
Once the edits are complete, beginners must learn how to export correctly. In Lightroom, export settings allow beginners to control image size, resolution, and format. For beginners intending to share online, optimized JPEG settings ensure quick uploads with no loss of quality. If printing, higher-resolution exports preserve details beautifully.
Organizing exported files
Managing finished files is just as important as editing. Beginners should create a clear folder system to save exported photos. This helps a beginner photographer keep track of final versions for portfolios, clients, or social media posts. Consistency in naming and folder organization also makes future retrieval effortless.
Developing Your Workflow as a Beginner
Having a workflow prevents editing from feeling chaotic. When beginners know exactly what steps to follow, they avoid decision fatigue and get more consistent results. A simple Lightroom workflow not only improves efficiency but also builds confidence as you edit more photos. Over time, your personal process will evolve into a signature routine.
Creating an efficient routine
Lightroom is most powerful when used consistently. Beginners should establish a simple step-by-step workflow: import, organize, edit, and export. This process helps a beginner stay focused and prevents getting lost in too many tools or unnecessary features. As you grow, you can expand your workflow, but a clear routine helps you build momentum.
Practicing regularly for improvement
No beginner becomes an expert overnight. Consistency in practicing Lightroom editing helps beginners gain speed and confidence. By editing a small batch of photos daily or weekly, a beginner steadily builds stronger skills and a unique editing style. Like any art form, repetition is the fastest path to mastery.

Lightroom may seem overwhelming at first glance, but it quickly becomes second nature when approached step by step. The key is not trying to learn everything at once but instead focusing on the foundational tools that make the biggest difference in your images. As you practice, you’ll not only get faster but also begin to see your style take shape, which is one of the most rewarding parts of photography. Remember, editing is about progress, not perfection, your growth will come with each photo you work on.
Want to continue growing as a photographer? Don’t just stop at Lightroom. Explore how editing connects to your larger photography brand by checking out more of our guides. Start small, practice often, and don’t be afraid to try new techniques, you’ll be amazed at how quickly your beginner edits transform into professional-quality images. Ready to improve your editing skills and create photos you’re proud of? Start experimenting with the tips above in Lightroom today. And if you’re serious about building your photography business, explore our 1:1 Coaching resources to learn how editing fits with marketing, client experience, and building your dream photography brand.

Comments