Share this post
AUTHOR:
10 Quick Lighting Fixes Every Photographer Should Know
October 2, 2025
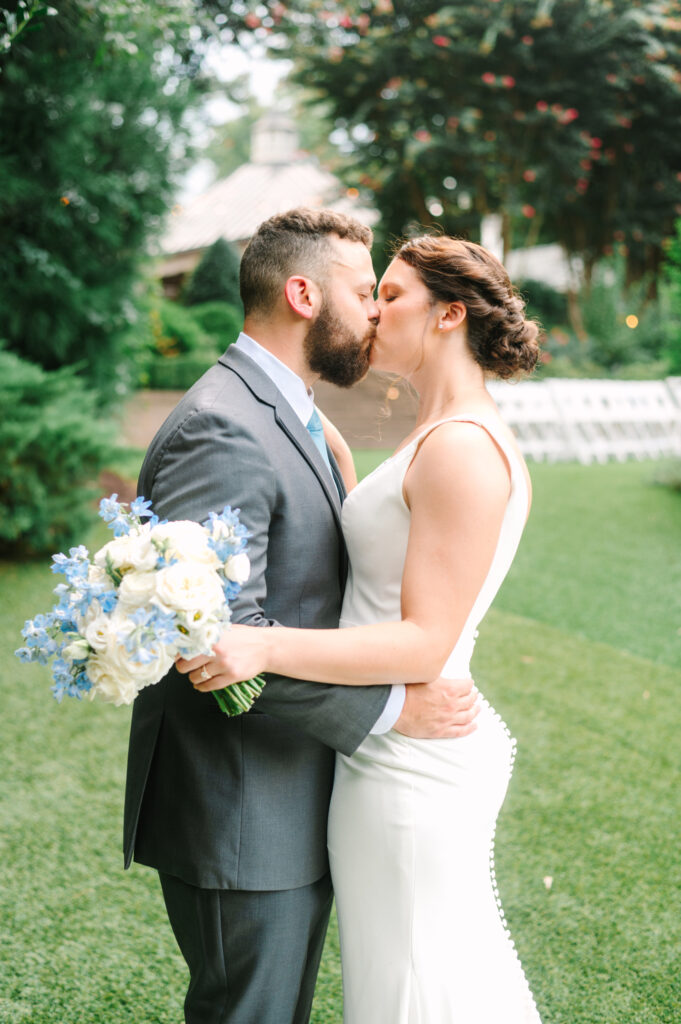
Photography is all about storytelling, and at the heart of every great image is one thing: lighting. The way we shape, adjust, and creatively use light can make or break a photograph. For photographers at any level, learning how to manage lighting is essential to capturing professional, high-quality images without frustration. The good news? You don’t need expensive gear or complicated systems to fix common lighting problems. With the right knowledge, quick adjustments can transform your photography instantly.
In this post, we’ll explore 10 practical, fast, and impactful lighting fixes that every photographer should know to take their work to the next level.
Here are the 10 lighting fixes we’ll cover:
- Diffusing Harsh Lighting
- Using Reflectors Effectively
- Balancing Natural and Artificial Lighting
- Correcting White Balance Issues
- Positioning Subjects for Lighting Control
- Using Background Lighting for Depth
- Mastering Low Light Photography Fixes
- Preventing and Correcting Shadows
- Controlling Lighting with Modifiers
- Leveraging Golden Hour Lighting
Diffusing Harsh Lighting
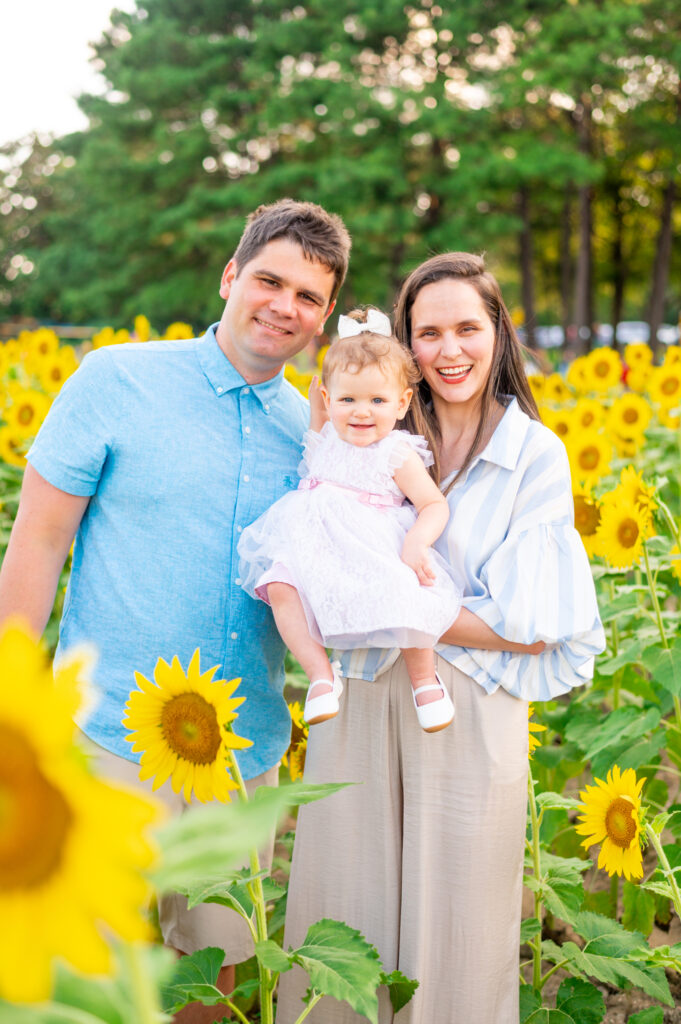
Harsh lighting can flatten your subject and create unflattering contrasts that distract from your story. Diffusion is one of the simplest and most effective fixes, allowing you to soften sunlight or direct artificial light into something much more flattering. By diffusing light, you create even exposure across your subject’s features while keeping the details intact. This technique is especially useful for portraits, where soft skin tones and controlled highlights make all the difference. Learning to diffuse light is a small adjustment that delivers a massive payoff in image quality.
Using Natural Light Diffusers
One of the easiest ways to handle harsh lighting outdoors is to use natural diffusers such as sheer curtains, clouds, or shaded areas. These natural elements break down direct sunlight, resulting in soft, even light that’s more flattering for portraits and eliminates overexposed highlights. They’re also cost-free and accessible, making them a great option for beginners. Many photographers also use open shade near buildings or trees to control light without losing its natural feel.
Portable Diffusers for Outdoor Shoots
For photographers on the go, portable diffusers are essential when managing difficult lighting conditions. Affordable pop-up diffusers can be placed between the subject and the sun, softening harsh rays and creating professional-quality images without needing heavy equipment. They’re lightweight and fit easily into most gear bags, so you’re never caught unprepared in unpredictable weather. Even small hand-held diffusers can transform outdoor portraits into polished, professional shots.
Using Reflectors Effectively
Reflectors are an incredibly versatile tool in photography because they help control shadows without adding artificial lights. They bounce light back onto your subject, allowing you to fill in darker areas while keeping a natural look. Reflectors also give photographers creative control over the mood of an image by changing how highlights and tones appear. From budget-friendly DIY options like poster boards to professional collapsible reflectors, the possibilities are endless. Once you master reflectors, you’ll find yourself relying on them in every type of shoot.
Reflectors to Redirect Lighting
A reflector is a game-changing tool that allows photographers to redirect available lighting back onto the subject. It helps brighten shadows, reduce contrast, and highlight facial features, all while controlling the mood of the image. Reflectors are particularly useful for outdoor portraits where you can’t always control the sun’s position. With a little practice, you can even use reflectors to mimic studio-quality lighting in natural environments.
Choosing Reflector Colors for Lighting Effects
Different reflector colors create distinct lighting outcomes. White reflectors soften light, silver reflectors create brighter highlights, and gold reflectors add warmth to skin tones. Choosing the right color based on your subject enables precise, professional control. Many reflectors come with multiple surfaces in one tool, making it easy to switch between looks during a session. With color choice, you’re not just redirecting light, you’re actively shaping the mood of the photograph.
Balancing Natural and Artificial Lighting
Mixing different types of light can create unexpected challenges, but when done well, it adds depth and professionalism to your images. Natural light often has a warm, soft quality, while artificial sources can appear cooler or harsher. To balance both, photographers must think carefully about color temperature and intensity. With the right techniques, you can merge these lighting sources seamlessly to tell a stronger story. This skill is especially critical for indoor event photography where both types of light are present.
Mixing Indoor and Outdoor Lighting
Photographers often struggle when shooting with indoor lamps and natural light together. Balancing both lighting sources requires adjusting camera settings or using gels to bring consistency. This avoids color casts and achieves a cohesive final image. For example, warming gels on flashes can match indoor tungsten light, creating balance instead of clash. Mastering this makes your photos look polished straight out of the camera.
Flash and Ambient Lighting Balance
Properly balancing flash with ambient lighting ensures you don’t wash out your subject or underexpose the background. By dialing down flash intensity and adjusting shutter speed, you create a natural blend that enhances rather than overpowers the scene. This technique is particularly important for weddings, where ambient atmosphere and subject detail both matter. Balancing flash with ambient light lets you showcase the mood while still keeping subjects crisp and well-lit. Take a look at our course Flash Made Simple for more useful tips on how to master flash.
Correcting White Balance Issues
Color is one of the first things viewers notice in a photograph, and incorrect white balance can quickly ruin the mood. White balance ensures that colors appear natural under different lighting conditions, whether you’re shooting at sunrise or under fluorescent bulbs. By managing it in-camera or in post, you keep skin tones accurate and prevent unwanted blue, yellow, or green casts. A strong grasp of white balance gives your work consistency and professionalism. Once you master it, editing becomes faster and easier too.
Camera Settings for Lighting Accuracy
White balance corrections are often needed in tricky lighting. Adjusting in-camera settings allows photographers to calibrate color temperatures based on current conditions, preventing inaccurate tones like overly warm indoor images or blue outdoor casts. Many cameras include presets like “daylight” or “shade” that make this process simple. Custom Kelvin adjustments offer even more control for photographers who want precision.
Post-Processing White Balance Fixes
When lighting flaws sneak into a shoot, photo editing software becomes a rescuer. Programs like Lightroom let photographers fine-tune white balance afterward, ensuring skin tones and natural hues stay true to life across all images. Tools like the eyedropper selector make corrections quick and intuitive. While it’s best to get white balance correct in-camera, post-processing ensures no session is wasted due to lighting inconsistencies.
Positioning Subjects for Lighting Control
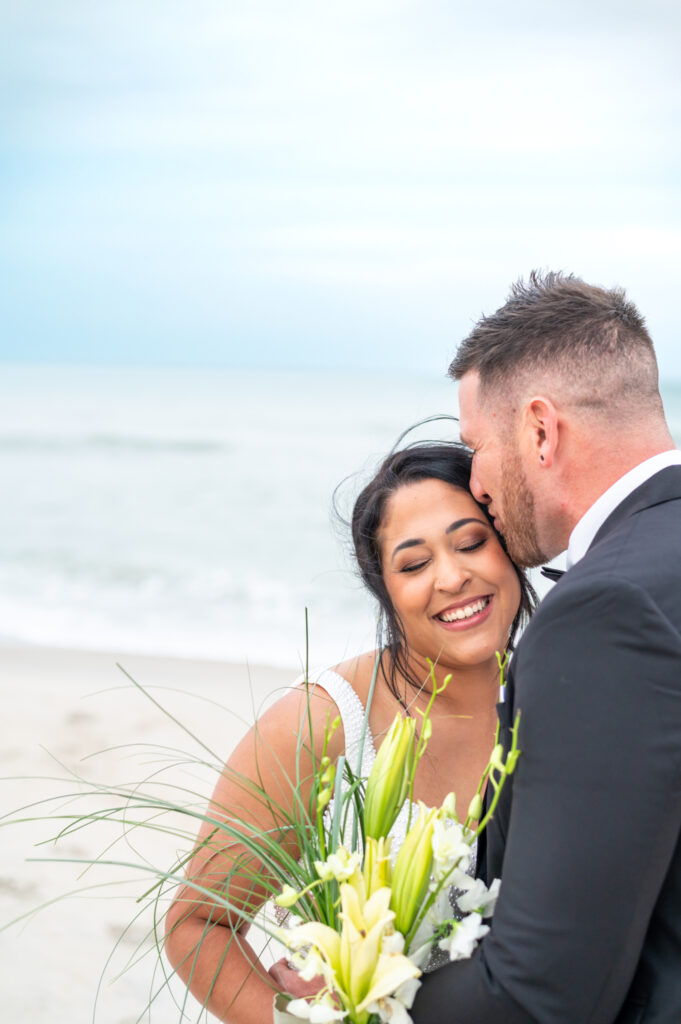
Lighting isn’t just about equipment, it’s also about positioning. Small shifts in where your subject stands can drastically alter the way light hits their features. Positioning allows you to control shadows, highlights, and the overall mood without needing extra tools. This technique is essential for photographers who want to work smarter, not harder. It’s one of the fastest ways to improve results with no additional cost.
Subject Placement in Natural Lighting
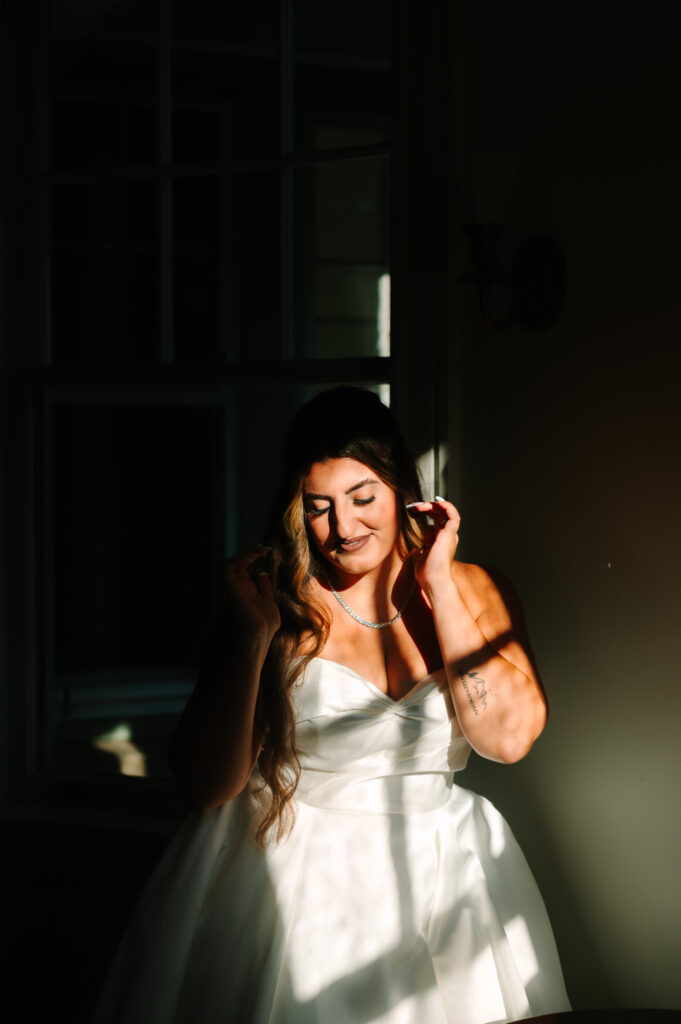
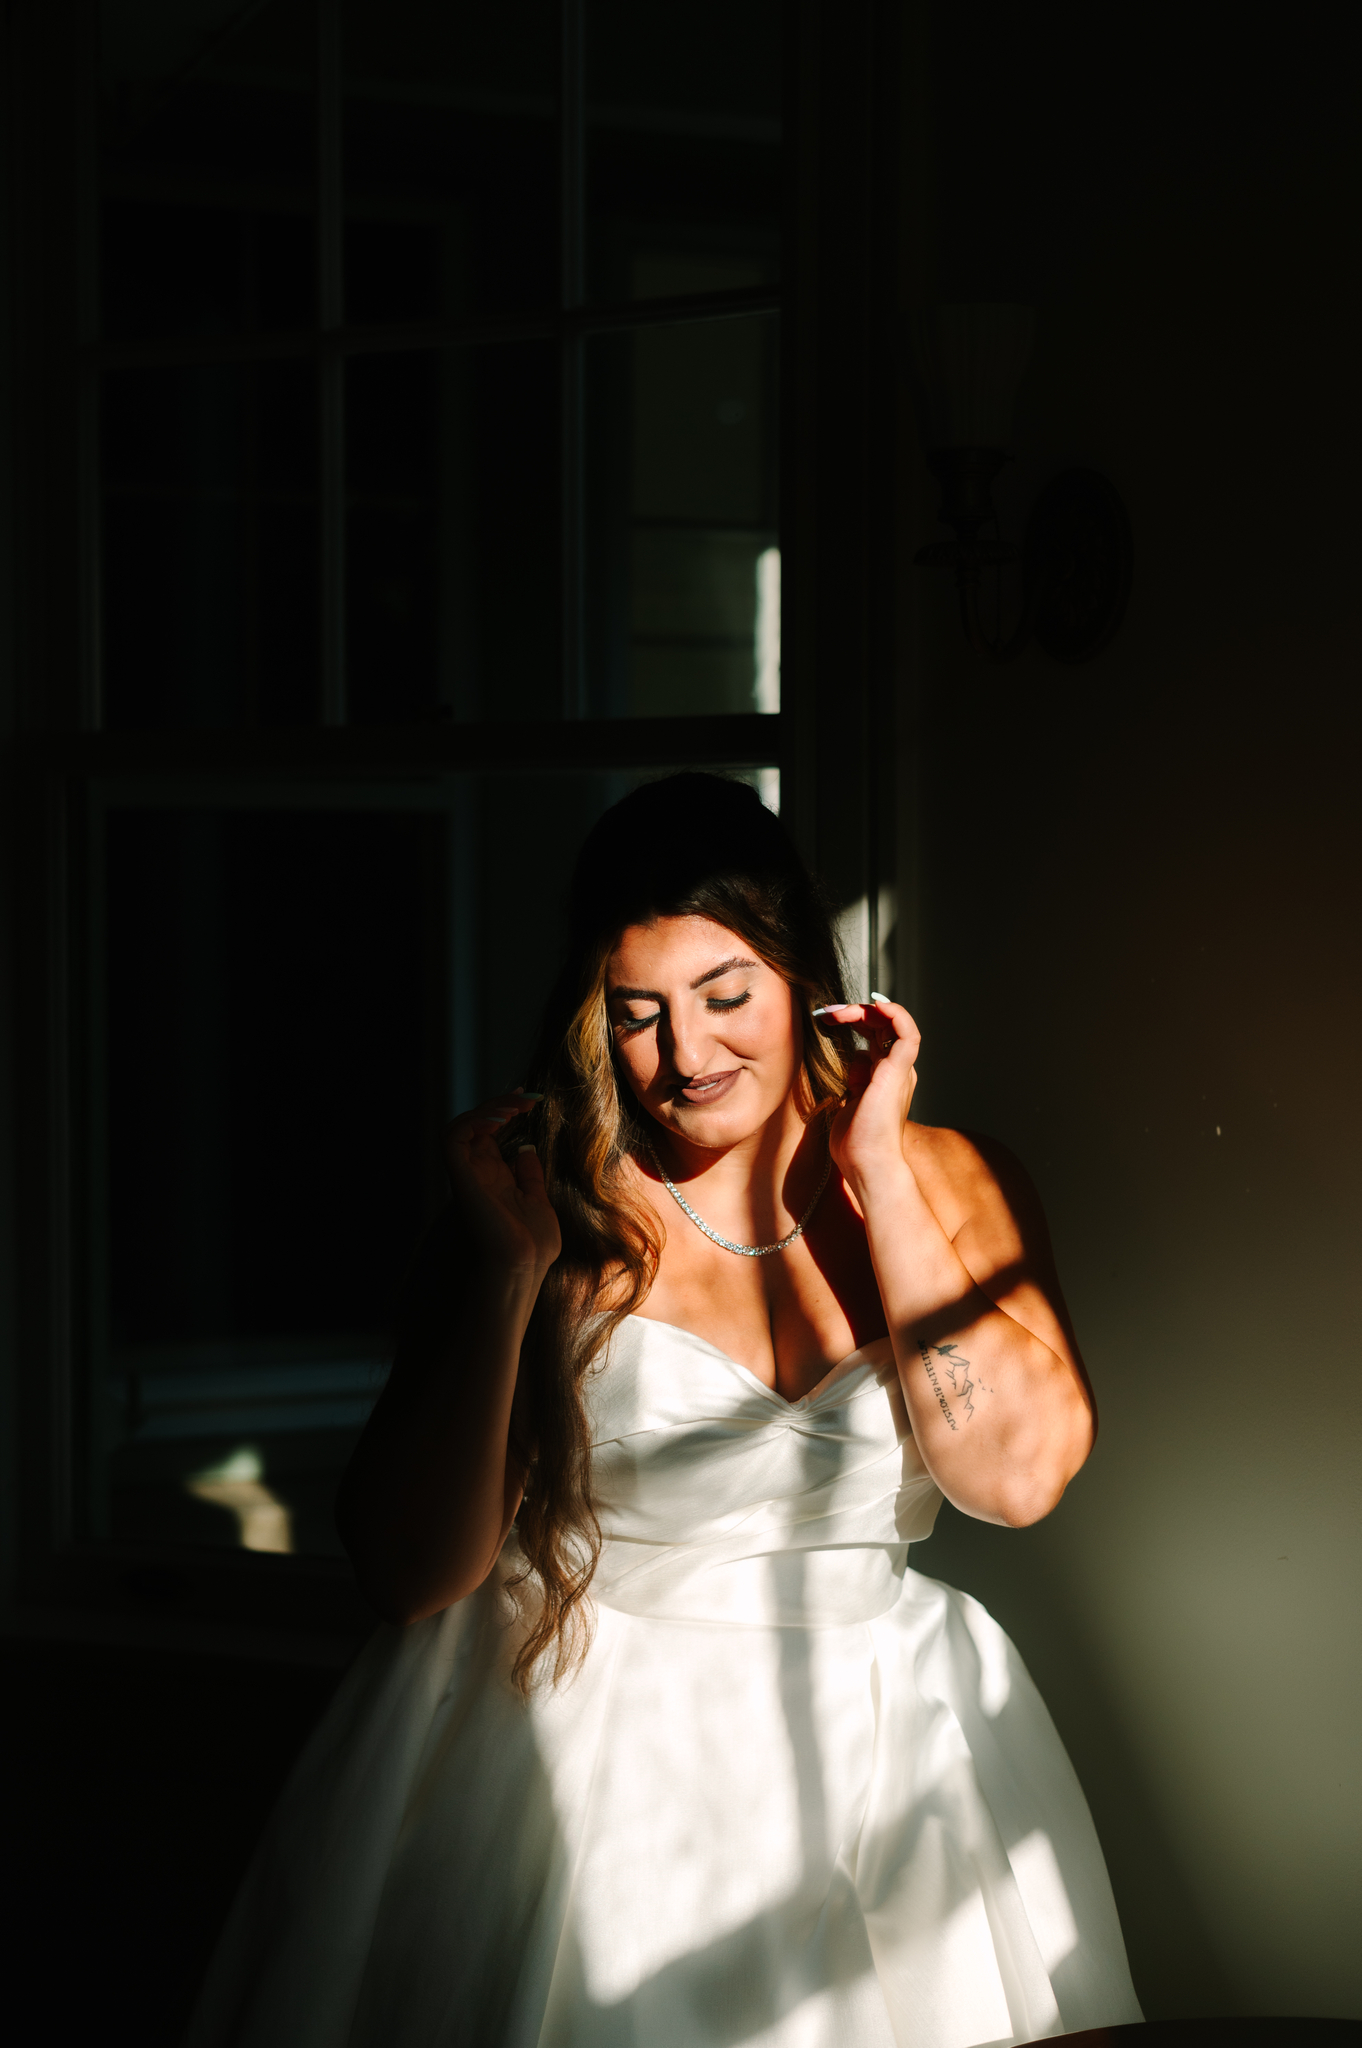
The placement of your subject relative to the light source drastically affects a photo. Simple adjustments like turning slightly toward or away from windows can transform how lighting falls on their face, improving depth and dimension. Even a few inches of movement can change shadows from distracting to dramatic. Photographers who experiment with angles quickly learn to see light as part of their composition.
Using Backlighting Placement Creatively
Backlighting is one of the most artistic ways to use lighting. Properly positioning your subject in front of the sun or an artificial source creates dreamy silhouettes, halos, and rim light effects that elevate the image dramatically. It’s also a technique that adds storytelling power to portraits and lifestyle shots. With practice, backlighting can become a signature style that makes your images stand out. Take a look at this blog; Light effect on background: Why it matters for more information on how to make this possible.
Using Background Lighting for Depth
Lighting the background of your image adds dimension and prevents flat-looking photos. It separates the subject from the environment, creating a three-dimensional effect that feels more cinematic. Background lighting can also set the mood and direct the viewer’s attention where you want it. Photographers often use this trick in both portraiture and commercial work for polished, professional results. It’s a small detail that dramatically elevates composition.
Adding Lighting Behind the Subject
Strategically adding lighting behind your subject separates them from the background, creating depth. This technique is perfect for both indoor studio setups and dramatic outdoor portraits. It adds a professional polish that makes images look intentional rather than accidental. Even simple tools like a desk lamp or a small LED panel can achieve the effect.
Creating Mood with Background Lighting
Background lighting can dramatically shift mood, from soft romantic tones to bold, dramatic images. Photographers use elements like fairy lights, colored LEDs, or sunset skies to bring life and emotion to images. The key is to match background light with the story you’re trying to tell. By experimenting, you’ll discover how background lighting can enhance atmosphere without distracting from your subject.
Mastering Low Light Photography Fixes
Low light situations often intimidate photographers, but with the right techniques, they can produce some of the most stunning images. Mastering low light involves balancing exposure, stability, and creative use of available light. By practicing patience and control, you can avoid grainy, blurry, or underexposed results. Low light photography also encourages creativity, as limitations push you to experiment with settings and tools. This skill is a must-have for event and lifestyle photographers.
Maximizing Available Low Lighting
In low conditions, adjusting ISO, aperture, and shutter speed allows you to maximize available lighting. Combining proper camera settings with stable shooting techniques prevents blurry or grainy images while keeping detail intact. Wide apertures let in more light and create dreamy depth of field. Pairing this with thoughtful ISO adjustments helps you capture the scene without overwhelming noise.
Using Tripods and Low Lighting Gear
Essential gear like tripods helps stabilize cameras during low lighting conditions, enabling slower shutter speeds without blur. Pairing with external flashes or continuous LED panels enhances control when natural light is simply not enough. Even small, portable gear options make a huge difference in image clarity. Investing in these tools ensures you’re always prepared for evening shoots or dimly lit venues.
Preventing and Correcting Shadows
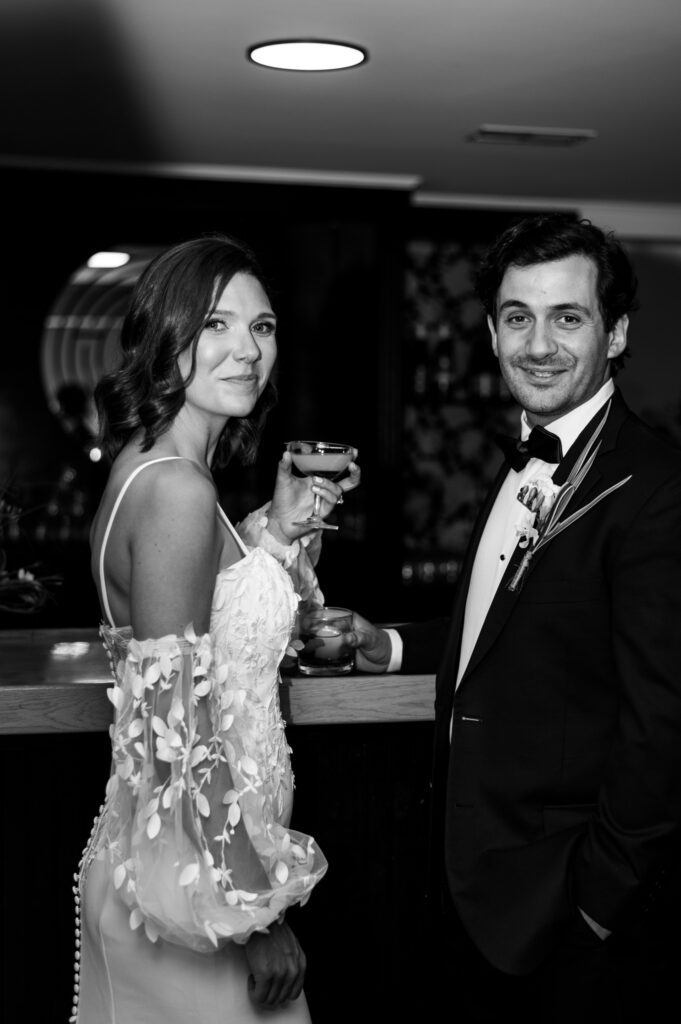
Shadows can either enhance or distract, depending on how they’re managed. The key is knowing when to embrace them for drama and when to soften them for balance. By learning quick adjustments, photographers gain control instead of fighting against shadow issues. Preventing harsh shadows saves editing time and ensures consistent quality. Mastering this balance is a hallmark of professional work.
Positioning Lighting for Shadow Control
Harsh shadows can be distracting, but strategic lighting placement eliminates them. Moving lights slightly higher or angling them properly softens shadows across subjects, preventing undesirable dark spots in portraits. This approach creates more flattering results, especially in close-up shots. It’s a quick fix that requires no extra equipment, just awareness of angles.
Reflecting and Filling Shadows with Lighting
Another quick fix to deal with shadow problems involves adding fill lighting using reflectors or a second light source. This balances exposure evenly across the frame and ensures every detail is visible. Even natural reflectors, like bright walls, can serve as shadow control tools. With a little creativity, you can solve most shadow issues on the spot.
Controlling Lighting with Modifiers
Lighting modifiers give photographers professional-level control over direction, softness, and spread. These tools let you shape light intentionally rather than relying on luck. From studio setups to portable outdoor shoots, modifiers open creative possibilities. They also make it easier to reproduce consistent results, which is crucial for client work. Once you learn to use modifiers, your images immediately gain polish and depth.
Softboxes for Controlled Lighting
Softboxes are powerful tools photographers use to shape and control lighting. They diffuse light into a soft but directional flow, offering precision in studio settings that improves portraits, product shots, or editorial photography. Softboxes are available in different shapes and sizes, each influencing the light quality in unique ways. Mastering their use ensures you always have flattering, professional-looking results.
Umbrellas for Wide Lighting Coverage
Lighting umbrellas are alternatives for broad coverage, spreading soft light evenly across larger areas. These modifiers are affordable, lightweight, and perfect for lighting beginners who want professional results with minimal fuss. While less directional than softboxes, umbrellas provide a forgiving, natural look. They’re an excellent choice for large group portraits or evenly lit environments.
Leveraging Golden Hour Lighting
Golden hour is often called the photographer’s dream, and for good reason. The warm, soft tones during this time create naturally beautiful images without much effort. Leveraging this light requires planning and flexibility, as the window of opportunity is short. Photographers who master golden hour can consistently deliver glowing, timeless images. This technique is perfect for everything from portraits to landscapes.
Timing Golden Hour for Best Lighting
Golden hour provides the most sought-after lighting, with its warm tones and soft glow. Photographers who plan shoots during sunrise or sunset gain the advantage of natural, flattering light without the need for artificial tools. The challenge is timing, as the light changes quickly. Learning to anticipate these shifts helps you capture the best possible results in a limited window.
Creative Golden Hour Techniques
Beyond portraits, golden hour lighting can be used to experiment with silhouettes, lens flares, and dramatic landscapes. Embracing this natural phenomenon gives photographers endless creative opportunities. By shooting both toward and away from the sun, you can achieve a variety of moods in a single session. Creative experimentation during golden hour helps you expand your style and add signature looks to your portfolio.
Lighting is one of the most powerful tools a photographer can master, and the best part is that many fixes don’t require expensive gear. From simply moving your subject to using modifiers or planning around natural conditions, these small changes produce professional-level results. The more you experiment with these techniques, the more second nature they’ll become. With practice, you’ll not only avoid common lighting issues, you’ll also start using light as a creative force in your work. At the end of the day, mastering light means mastering photography itself.
Photography is built on light, and mastering these quick lighting fixes will immediately transform the images you capture. Whether you’re working with golden hour, battling low light, or softening harsh shadows, control over lighting puts you in command of your creativity. Start experimenting with these techniques today, and watch your photography evolve into more professional, polished, and impactful work. Also sign up for our Mastering Lightroom Session for more help on having your photos pop.
Comments