
Share this post
AUTHOR:
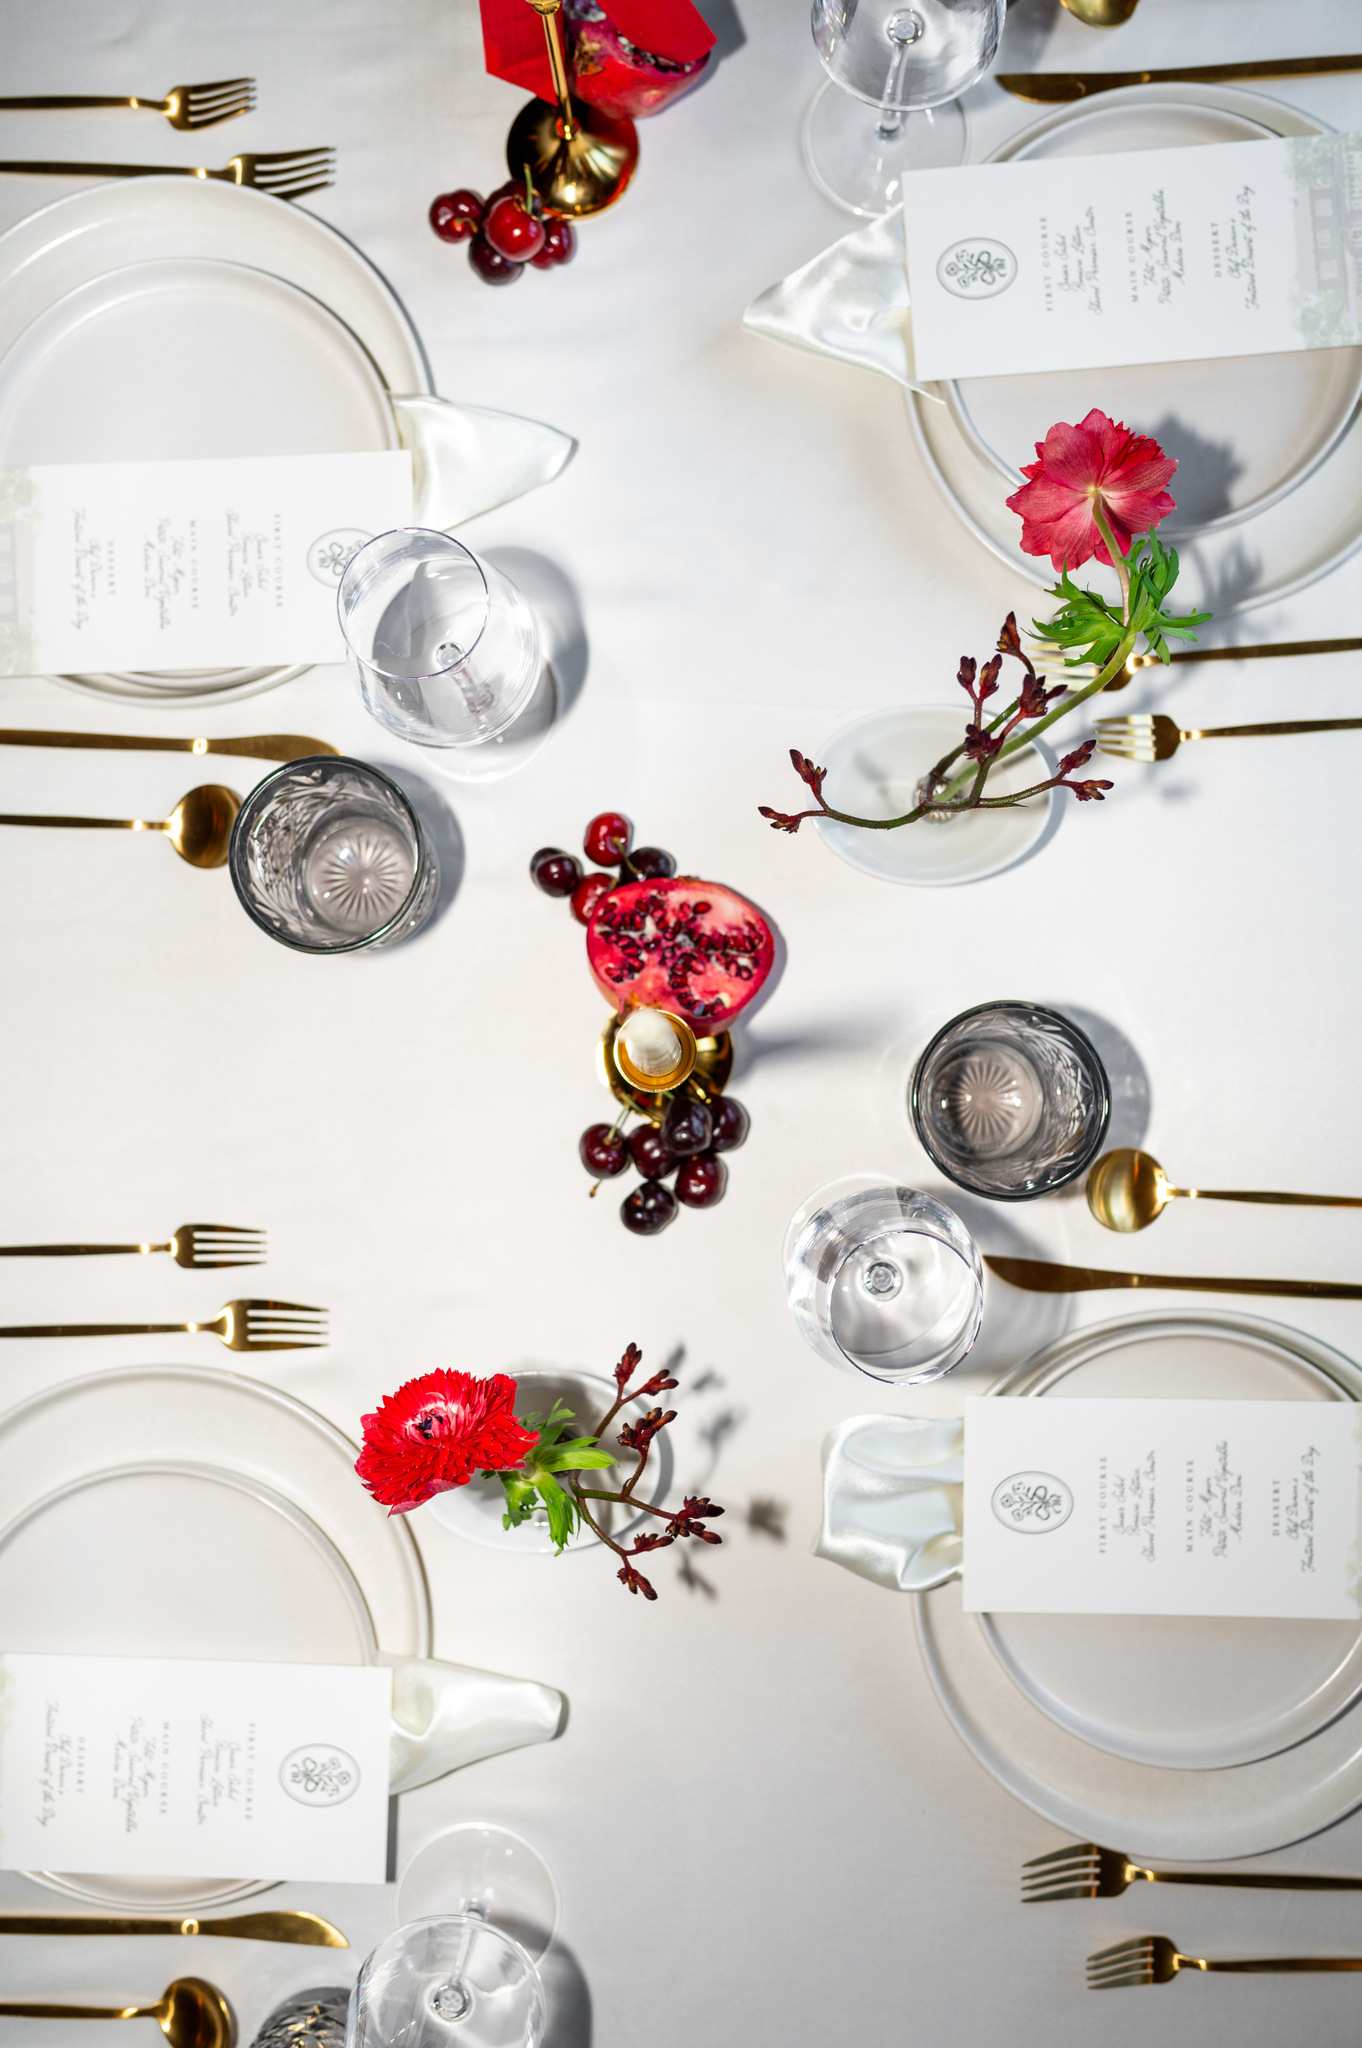
How to Master Direct Flash Photography
June 4, 2025
Hey there let’s get real using direct flash can feel like stepping into the spotlight with no script. It’s bold, it’s dramatic, and when done right, it gives your images that high-end, editorial vibe clients can’t stop raving about. But mess it up? You’re looking at blown-out highlights, harsh shadows, or flat, uninspired shots. Whether you’re shooting a lively wedding dance floor or a chic couple’s portrait, direct flash can be your secret weapon for creating jaw-dropping photos if you know how to wield it.
No need to stress! You don’t need fancy gear or years of experience to nail direct flash photography. It’s about small, intentional choices that add up to big results. In this guide, we’ll walk you through practical steps to make direct flash your creative bestie, from gear setup to editing tricks. Whether you’re a beginner or a seasoned pro balancing wedding gigs with your dream portfolio, let’s turn that flash anxiety into confidence and create images that pop!
Here’s What We’ll Cover:
- Embracing the Power of Direct Flash
- Setting Up Your Gear Like a Pro
- Picking the Perfect Moments for Direct Flash
- Nailing Camera Settings for Crisp Shots
- Styling and Framing for Editorial Magic
- Playing with Flash Angles and Distance
- Using (or Skipping) Modifiers for Impact
- Editing Direct Flash Photos to Shine
- Avoiding Flash Fails Like a Boss
- Building Your Unique Direct Flash Style
Let’s dive in and make direct flash your new favorite tool!
Embracing the Power of Direct Flash
Direct flash isn’t just light, it’s a vibe. It strips away soft, ambient glow and replaces it with bold, in-your-face clarity that screams editorial. But it’s a fine line: use it with intention, and you’ve got a magazine-worthy shot; use it carelessly, and you’ve got a snapshot that screams “amateur.”
Why Direct Flash Is a Game-Changer
Think of direct flash as your creative megaphone. It isolates your subject, flattens distracting backgrounds, and adds drama that makes viewers stop scrolling. I once shot a wedding exit with sparklers flying, direct flash froze every spark and smile, turning chaos into a Vogue moment. It’s perfect for storytelling when you want your subject to steal the show.
Owning the Risk for Reward
Direct flash can feel scary because it’s unforgiving, harsh shadows or red-eye can sneak in if you’re not careful. But that’s okay! Doubt is part of the process. Start small: try direct flash in a low-stakes shoot and see how it transforms your work. Embracing its boldness is the first step to mastering it.
Setting Up Your Gear Like a Pro
You don’t need to spend a fortune to get started with direct flash photography. The essentials? A reliable camera, an external flash (like the Canon Speedlite or Godox V1), and a way to mount or trigger your flash off-camera if needed. Lets break it down so you’re ready to shine in any setting.
Picking the Right Flash
A reliable speedlight is your best friend. Models like the Godox V860III, Canon 600EX II-RT, or even budget-friendly Neewer flashes get the job done. Learn your flash’s quirks, how to tweak power, zoom, and recycle times, so you’re never stuck mid-shoot. Oh, and always pack extra rechargeable batteries. Nothing kills the vibe like a dead flash during a confetti toss! We can help you with all this information in our First steps into Photography Course!
Modifiers That Make a Difference
Modifiers let you shape your flash’s personality:
- Bare Flash: Think paparazzi glam; hard, glossy light for bold, high-energy shots.
- Bounce Cards: Soften the edges for a touch of warmth without losing the direct flash vibe.
- Diffusers: Perfect for close-ups to tame harshness on skin tones.
- Grids or Snoots: Focus light to highlight your subject in crowded scenes.
I learned this the hard way at a packed reception, my bare flash created epic drama, but a diffuser saved my close-up portraits from looking too intense. Keep your kit simple and versatile for any scenario.
Picking the Perfect Moments for Direct Flash
Direct flash isn’t for every situation, but when it works, it really works. It’s perfect for fast-paced, low-light scenarios like parties, concerts, or weddings where you want to freeze movement while keeping subjects well-lit.
It also shines in editorial and street-style photography, adding an intentional, raw look that mimics a point-and-shoot aesthetic. Think about those 90s paparazzi vibes or Y2K fashion shoots—direct flash gives images a bold, punchy feel with high contrast and strong shadows. This article also help break down the best scenarios to use flash photography Fstoppers: Couple Photography: Balancing Ambient Light and Flash.
High-Energy Events That Shine
Direct flash thrives in chaotic, vibrant scenes: think dance floors, grand exits with confetti, or champagne showers. It freezes motion and cuts through tricky lighting like a pro. At a recent wedding, I used a direct flash to capture the bride’s twirl under neon lights, every detail was crisp, and the energy was electric.
Editorial Portraits and Candids
For portraits, direct flash adds a fashion-forward edge. Pair it with a moody backdrop or bold styling for that editorial look. It’s also killer for cocktail hour candids or late-night flatlays, keeping your shots sharp and glamorous even in low light.
Quick Tip: Use direct flash to make your subject the star, especially when backgrounds are busy or dark. It’s like putting a spotlight on your story.
Nailing Camera Settings for Crisp Shots
Settings are your roadmap to clean, vibrant direct flash photos. Get these right, and you’ll avoid the dreaded blown-out look. Camera settings are key to mastering direct flash. Start by setting your ISO between 200 and 800, depending on the ambient light. Lower ISOs give cleaner images, but you may need to bump it up in very dark environments.
Dialing In the Basics
- ISO: Stick to 400–800 for low noise and sharp details.
- Aperture: f/2.8–f/4 balances sharpness and background blur.
- Shutter Speed: 1/200 or faster to freeze motion—key for dance floors or action shots.
- White Balance: Set manually (around 5500K) to avoid weird color casts from flash.
Fine-Tuning Flash Exposure
Start with low flash power (1/128 or 1/64) and take test shots. Check your histogram for clipping—if highlights are too hot, dial down the power or step back. Flash exposure compensation (FEC) is your friend for quick tweaks without messing with your camera settings.
Styling and Framing for Editorial Magic
Direct flash thrives on bold styling choices. Think shiny fabrics, vibrant colors, and high-contrast makeup, it all pops under harsh light. Don’t be afraid to lean into the drama. Metallics, glossy skin, and edgy fashion look especially powerful with direct flash. Your styling and composition can turn a good shot into a showstopper
When it comes to composition, tight crops and centered subjects give a raw, in-your-face editorial look. Experiment with wide angles for a surreal, distorted feel, or shoot from slightly below to make your subject look larger-than-life.
Framing for Drama
- Straight-On Flash: Point your flash directly at your subject for classic editorial shadows.
- Low Angles: Shoot from below eye level for a powerful, larger-than-life vibe.
- Embrace Rawness: Let skin texture or fabric shine through, it’s what gives direct flash its luxe, authentic feel.
I once shot a groom against a dark velvet curtain with direct flash. The shadows and shine made it look like a fashion ad, and he couldn’t stop sharing it!
Styling That Pops
Keep backgrounds clean or moody to let the flash do its thing. Metallics, bold makeup, or textured fabrics amplify the drama. Encourage dynamic poses to match the energy of direct flash, it’s all about creating that editorial magic.
Playing with Flash Angles and Distance
Angles and distance are your secret sauce for controlling direct flash’s vibe. Small tweaks make a big difference. Though “direct flash” usually means pointing the flash straight at your subject, the distance and exact angle can drastically change your results. Standing too close? You’ll blow out highlights and risk unflattering shadows. Too far? Your flash might not hit your subject effectively.
Fun with Flash Angles
- On-Axis: Straight-on flash creates bold, defined shadows for that high-drama look.
- Off-Axis: Angle the flash slightly (e.g., 45 degrees) for softer shadows and more depth.
- Groups: Tilt the flash upward to light everyone evenly and avoid harsh under-eye shadows.
Getting Distance Right
Keep your subject 4–5 feet away for balanced exposure. Too close, and you’ll overexpose; too far, and the flash loses its punch. Zoom your flash head to 50–70mm to keep light focused. I learned that shooting a group portrait, stepping back and zooming my flash saved the shot from looking flat.
Quick Tip: Move around your subject and play with angles. It’s like trying on outfits, experiment until you find what feels right!
Using (or Skipping) Modifiers for Impact
While many photographers associate modifiers like diffusers and bounce cards with soft, flattering light, direct flash has its own rules. Sometimes, going bare (no modifier) gives you that sharp, raw aesthetic you’re after. Think “flash-on-camera at a club” look.
However, small modifiers can still be useful. A white bounce card attached to your flash can slightly soften the light while keeping the direct feel. A small dome diffuser helps spread the light a bit wider, reducing harsh shadows without eliminating them completely. Modifiers let you tailor direct flash to the moment, but sometimes going bare is the boldest move.
Bare Flash vs. Diffused Flash
- Bare Flash: Perfect for high-energy events or outdoor shots, giving that glossy, red-carpet vibe.
- Diffusers or Bounce Cards: Soften light for close-ups or reflective spaces, keeping skin tones flattering.
- Grids/Snoots: Focus light for precision, ideal in busy settings like receptions.
When to Go Modifier-Free
Skip modifiers for fast-paced shoots like dance floors, bare flash keeps you nimble and delivers raw energy. It’s also great in spaces with reflective surfaces to avoid weird light bounces. At a rooftop party, I ditched my diffuser, and the unfiltered flash made every shot feel like a movie still.
Editing Direct Flash Photos to Shine
Editing direct flash photos is where the magic really happens. The goal is to enhance what makes direct flash exciting, bold contrasts, high clarity, and a little grit, without making it look over-processed.
Start with basic adjustments: bring down the highlights slightly and lift the shadows to recover detail in both ends. Increase clarity and texture to emphasize the rawness, and adjust white balance for skin tones that feel true but edgy. Editing is where your direct flash shots become editorial art. The goal? Enhance the drama without losing the raw, real vibe.
Editing Tricks That Pop
- Boost Contrast: Amplify highlights and shadows for that signature direct flash look.
- Tame Yellows: Desaturate warmth for clean skin tones.
- Go Monochrome: Try black-and-white conversions for timeless, high-drama shots.
- Keep It Real: Don’t over-smooth skin, pores and shine add authenticity.
I once edited a direct flash portrait with a slight contrast boost and a black-and-white filter, it went from good to gallery-worthy in minutes. Use tools like Lightroom or Capture One, and check histograms to preserve highlight details.
Quick Tip: Let the rawness of direct flash shine. Over-editing kills the vibe that makes these shots special.
Avoiding Flash Fails Like a Boss
Even seasoned photographers mess up direct flash. One of the biggest mistakes? Overexposure. Always check your histogram and review shots on your screen. If faces are blown out, reduce flash power or increase aperture.
Another common issue is red-eye. You can minimize this by asking your subject to look slightly away from the flash or using red-eye reduction mode. Or just embrace it, it can work stylistically in retro or party-style photos. You can dodge the common traps with a little know-how.
Steering Clear of Blown-Out Highlights
- Check Histograms: Look for clipping in bright areas like skin or white dresses.
- Lower Power: Start low (1/128 or 1/64) and adjust up. FEC is your bestie for quick fixes.
- Step Back: A little distance can save your highlights from glowing too bright.
Keeping Shots Dynamic
Flat images happen when direct flash isn’t used thoughtfully. Move around, shoot from different angles, and capture genuine moments to add depth. I once turned a boring group shot into a keeper by angling my flash and framing it dynamically, small tweaks, big impact.
Building Your Unique Direct Flash Style
Direct flash is more than just a technique, it can be a signature style. Photographers like Terry Richardson, Petra Collins, and Renell Medrano have all used direct flash to carve out distinct visual identities. Why not you?
Start by defining what you love about the look. Is it the raw, candid vibe? The gritty, high-contrast finish? Or the nostalgic throwback to disposable camera days? Once you pinpoint that, build around it with consistent editing, recurring themes, and styling choices. Your direct flash style can be your calling card, setting you apart in a sea of photographers.
Crafting Your Signature Look
Experiment with colors, editing, and flash techniques to find what feels like you. Love bold, vibrant hues? Or moody black-and-white? Apply your style consistently across your portfolio, website, and socials. I started showcasing my direct flash dance floor shots on Instagram, and it became my brand’s vibe, clients now book me for that energy!
Standing Out with Confidence
Direct flash says you’re bold and creative. Feature your best shots in your portfolio and share behind-the-scenes tips on X or Instagram to connect with your audience. It’s not just a technique, it’s a statement about your artistry.
Feeling nervous about direct flash? That’s okay, it means you’re ready to grow. You don’t need to nail it today. By playing with settings, embracing bold moments, and editing with intention, you’re building a style that’s all yours. Whether you’re shooting a wedding, a party, or a fashion editorial, direct flash can turn ordinary moments into striking, unforgettable images. You’ve got this, and we’re cheering you on!
Ready to rock direct flash? Grab your speedlight and try one tip from this guide at your next shoot. Want more photography hacks? Sign up for our 1:1 Coaching call for gear tips, editing tutorials, and BTS insights. Join our community of photographers who are all about bold, creative work!
reg & Kala hurst


Comments