
Share this post
AUTHOR:
Mastering Manual Mode: 1st Set Your Aperture (F-Stop)
September 21, 2023
Photography is an art that requires not just technical prowess but also a keen eye for capturing moments that will be cherished forever. To achieve this, mastering exposure is crucial. Both Kala and I, want to share how we set our exposure for each shot, to get consistent expert level photos. In this blog, we’ll dive into the first rule we swear by: setting your aperture or F-stop. Understanding and controlling your aperture is the foundation for achieving beautifully exposed photos.
What is Aperture or F-Stop?
Before delving into how to set your aperture for wedding photography, let’s clarify what aperture or F-stop actually is. Aperture refers to the opening in your camera’s lens that allows light to enter. It’s like the eye of your camera, controlling how much light reaches the camera’s sensor. F-stop is the unit of measurement used to express the size of the aperture. Smaller F-stop values indicate larger apertures, while larger F-stop values indicate smaller apertures.
The Creative Power of Aperture
Aperture isn’t just about controlling exposure; it’s a creative tool in your photography arsenal. I cannot emphasize enough that the aperture setting impacts two essential aspects of your photos, not just one.
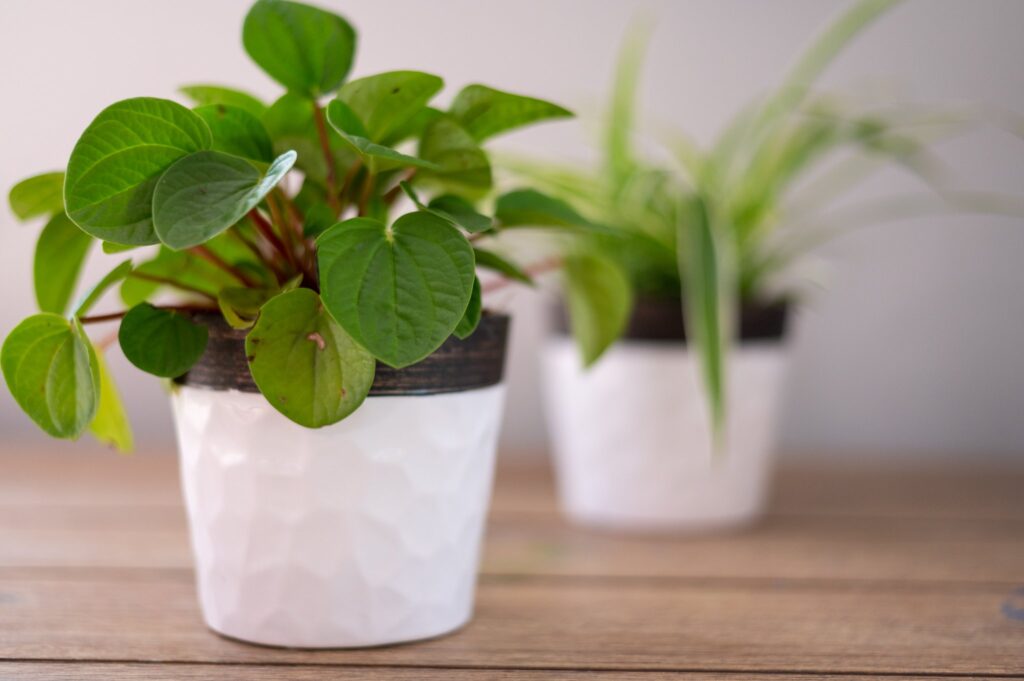
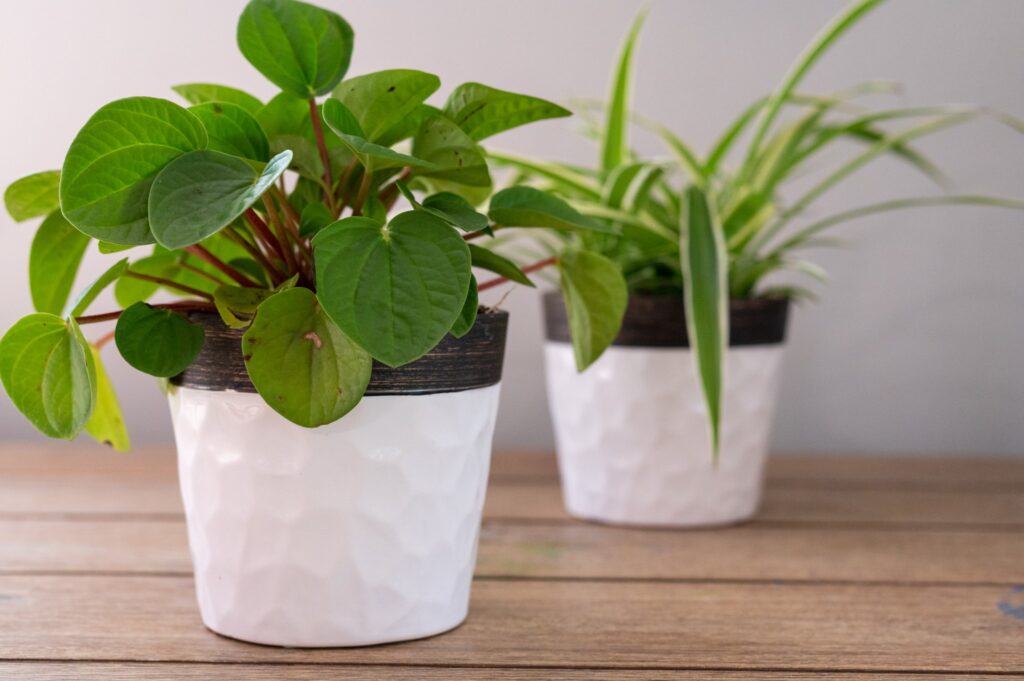
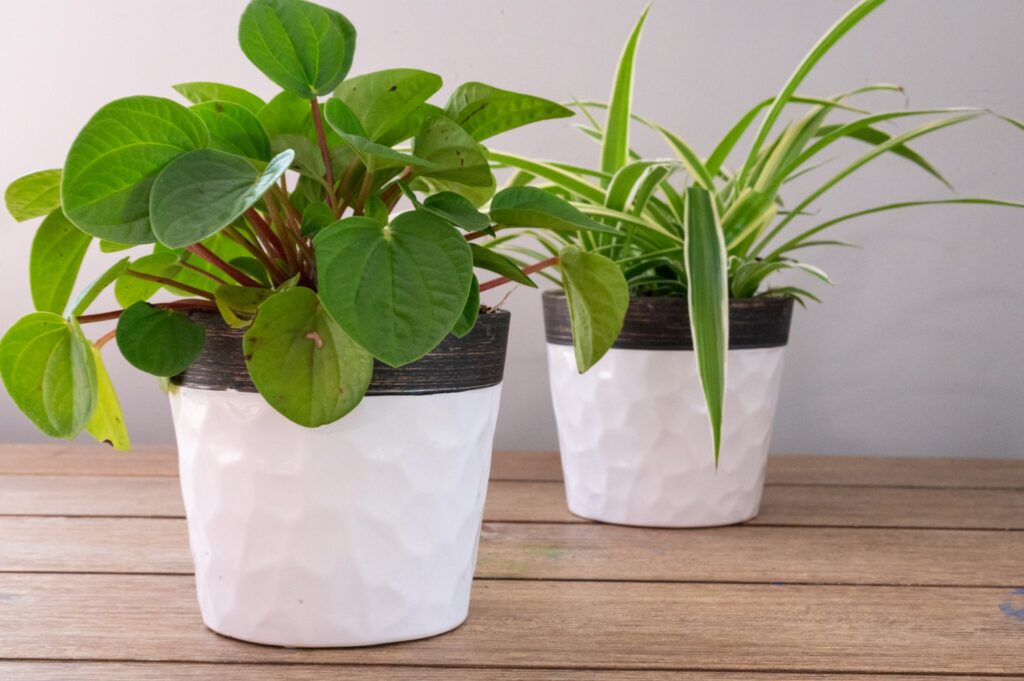
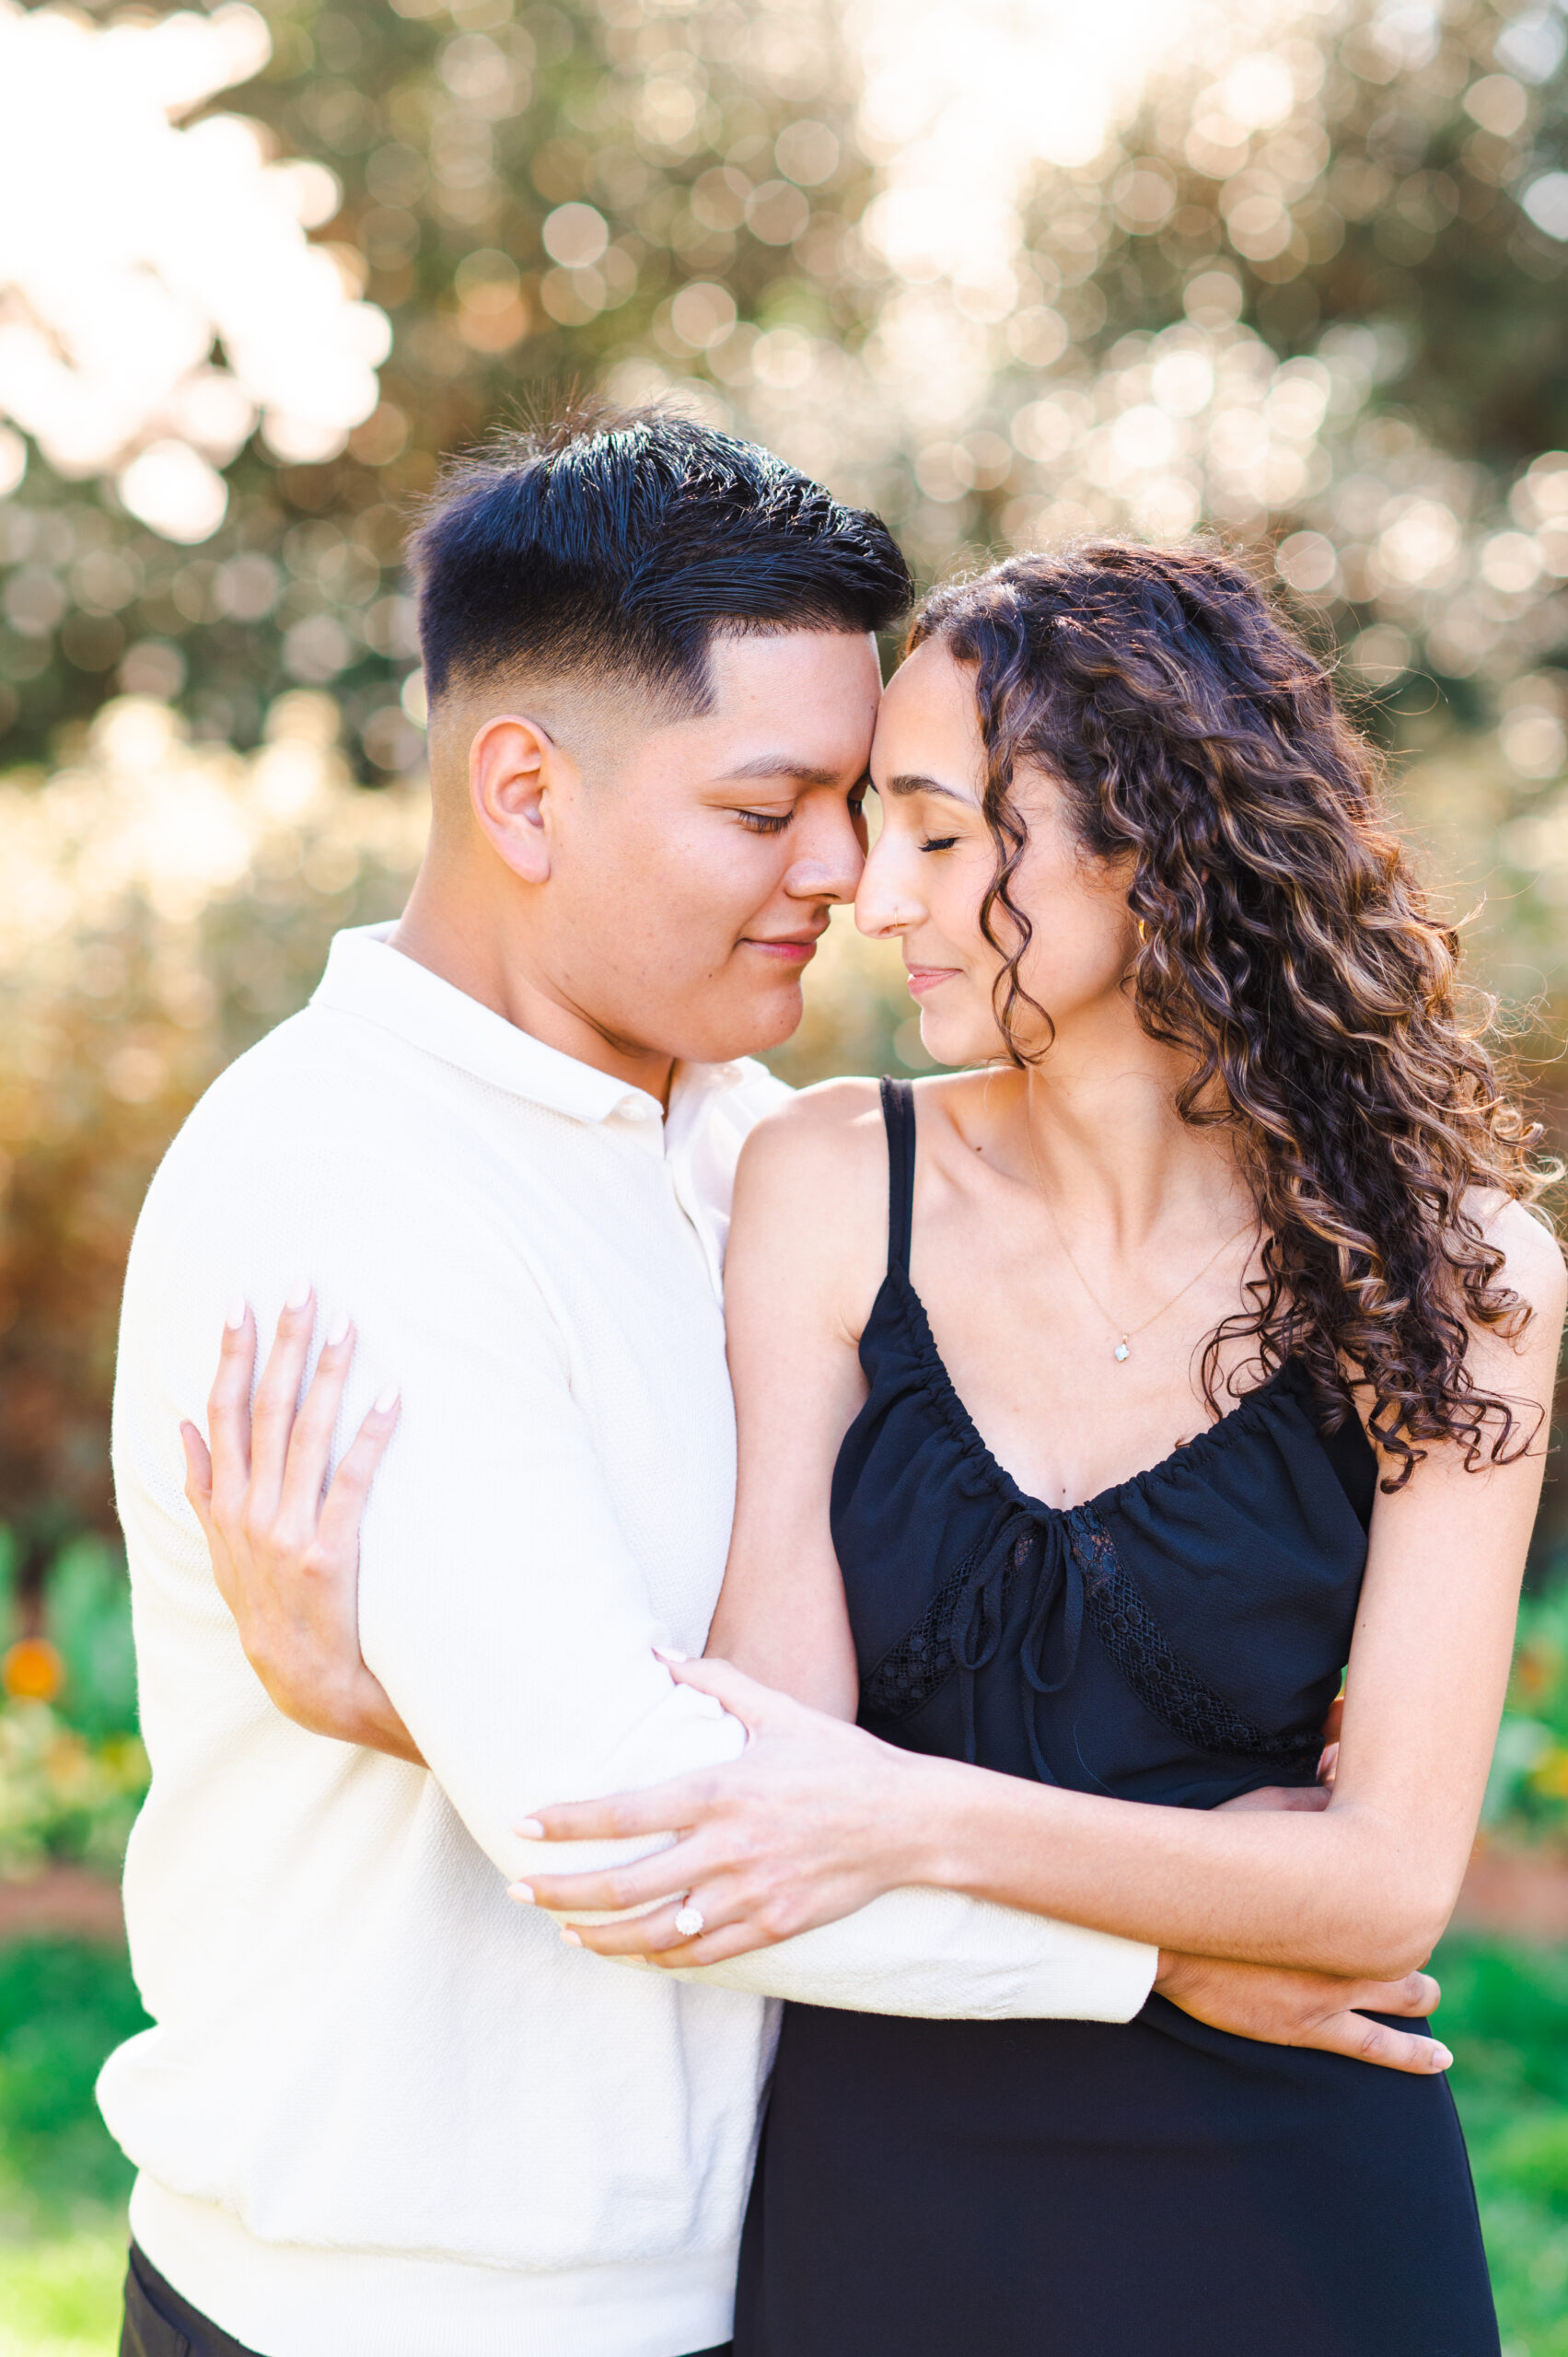
1. Depth of Field: The aperture controls how much of your photo is in sharp focus. A wide or low F-stop (e.g., F/1.4 to F/2.8) creates a shallow depth of field, where only your subject is in focus, and the background is beautifully blurred (bokeh). This is great for isolating the couple or a detail like the wedding rings.
2. Amount of Light: As mentioned earlier, the aperture also regulates the amount of light entering your camera. A wide aperture (low F-stop) lets in more light, ideal for low-light situations like indoor ceremonies or receptions.
Choosing the Right Aperture: We follow a systematic approach to set our aperture.
1. Consider the Scene: First, assess the lighting conditions and the scene. Is it bright and sunny or dimly lit indoors? Also what is your subject doing? Are they standing still, are they walking with your guidance, or are they a part of an event and your trying to capture candid moments that just happen?
2. Depth of Field: Decide on the depth of field you want for your shot. Do you want the entire scene in focus, or do you want to isolate the couple from the background? This will guide your aperture selection.
3. Lens Capabilities: Different lenses have varying maximum and minimum apertures. Be aware of your lens’s capabilities. Prime lenses (e.g., 50mm f/1.8) are excellent for creating a shallow depth of field, while zoom lenses might have narrower maximum apertures.
4. Shutter Speed and ISO: Remember that your aperture setting is part of the exposure triangle, along with shutter speed and ISO. When you adjust the aperture, you may need to make corresponding changes to shutter speed and ISO to maintain proper exposure.
5. Creative Intent: Always keep in mind the story you want to tell through your photos. Sometimes, a slightly blurred background can add a touch of magic to a wedding portrait, while at other times, you may want everything in sharp focus, like during group shots.
Common Aperture Settings for Photography
We often use the following aperture settings as starting points for various wedding scenarios:
1. Portraits: For intimate portraits with beautiful bokeh, we opt for wide apertures like f/1.4 to f/2.8.
2. Wedding Ceremony: During the ceremony, we aim for a balance between subject isolation and background detail, typically using apertures around f/2.8 to f/4.
3. Group Shots: When capturing large groups, we choose smaller apertures (higher F-stops) like f/6.3 to f/8 to ensure everyone is in focus.
4. Reception: In low-light reception venues, we go for wide apertures (low F-stops) like f/1.8 to f/2.8 to capture ambient light and create dreamy bokeh for candid moments.
Setting your aperture or F-stop is the first rule in achieving exceptional photography exposure. It’s not just about getting the correct exposure but also about using aperture creatively to tell the story. Mastering aperture settings is an essential step toward capturing timeless and breathtaking photographs. So, the next time you’re behind the lens at a portrait session or wedding, remember to consider the scene, depth of field, and your creative intent when setting your aperture, and let your camera work its magic.
Struggling with learning manual on your own?
We offer live Coaching!
Learn more here!
reg & Kala hurst


[…] If you haven’t read the first rule in Mastering Manual Mode do that click here to read it first. […]